How to Make Perfect Peanut Butter Cheesecake Brownies from Scratch
Indulge in the ultimate dessert mashup with our easy recipe for peanut butter cheesecake brownies. Learn the secrets to a perfectly fudgy brownie base and a dreamy, creamy peanut butter swirl for a treat that's guaranteed to disappear fast.
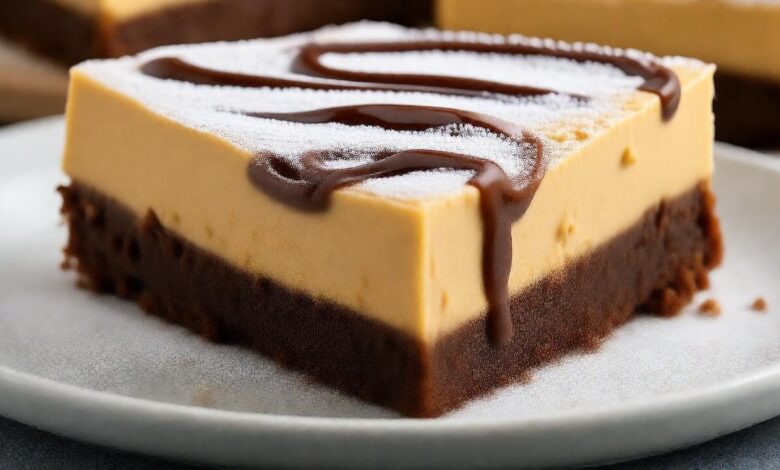
Have you ever stood in your kitchen, caught between two powerful cravings? On one hand, you want a rich, fudgy chocolate brownie. On the other, you’re dreaming of something creamy, tangy, and decadent, like a classic cheesecake. I’ve been there more times than I can count. That’s why I created this recipe for peanut butter cheesecake brownies, the dessert that says, “Why choose?”
These brownies are the best of both worlds. We’re talking about a dense, intensely chocolatey brownie base topped with a luscious, peanut butter-infused cheesecake swirl. Every bite is a perfect harmony of sweet, salty, and tangy. This recipe has become my go-to for potlucks, family gatherings, and those days that just demand a little something special. Don’t be intimidated by the layers—it’s surprisingly simple to put together. I’ll walk you through every step, and soon, you’ll be pulling a pan of these beauties out of your own oven. Let’s get baking!
Quick Recipe
- Preparation Time: 25M
- Cooking Time: 35M
- Total Time: 1H
- Type of dish: Main Course
- Cuisine: Indian
- Recipe Yield: 4 servings
- Calories: 350 kcal per serving
Recipe Highlights
| Quick Takeaways |
| Two Desserts in One: The perfect marriage of a fudgy brownie and creamy peanut butter cheesecake. |
| Stunning Yet Simple: Creates an impressive-looking swirl with just a few easy steps. |
| Perfectly Fudgy Texture: Our technique guarantees a dense, moist brownie base, never dry or cakey. |
| Make-Ahead Friendly: These brownies are even better the next day, making them ideal for parties. |
Why This Recipe Works So Well
Over the years, I’ve tested countless brownie recipes. Some were too cakey, others too sweet. This recipe for peanut butter cheesecake brownies is the one I always come back to. The magic is in the balance. The brownie batter is rich with unsweetened cocoa and just enough flour to hold it together, creating that signature fudgy brownie texture. We use melted butter, which is a key secret to a dense, chewy result rather than a light, cake-like one.
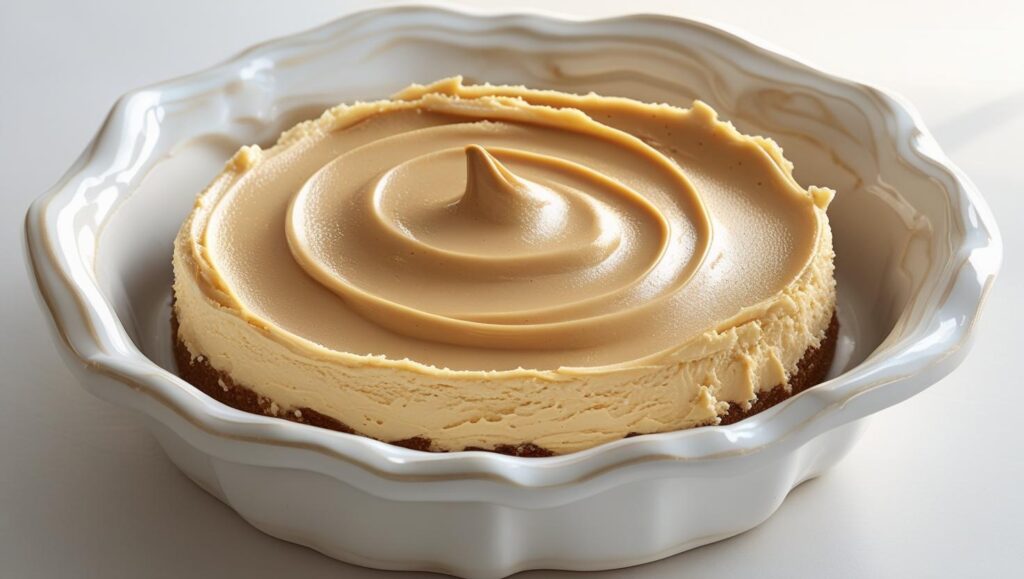
Then there’s the creamy cheesecake swirl. By using full-fat cream cheese at room temperature, we ensure the filling is velvety smooth and free of lumps. The peanut butter adds a wonderful savory note that cuts through the richness of the chocolate. It’s a truly winning combination.
The Ingredients You’ll Need
Let’s gather our ingredients. I’ve separated them into two lists for the brownie base and the cheesecake swirl to keep things organized. No need for anything too fancy; these are mostly pantry staples.
For the Fudgy Brownie Base:
- Unsalted Butter: One stick (1/2 cup), melted. Melting the butter is crucial for that fudgy texture.
- Granulated Sugar: 1 cup. Provides sweetness and contributes to the crackly top.
- Large Eggs: 2 of them. They bind the batter and add richness.
- Vanilla Extract: 1 teaspoon. It enhances the chocolate flavor.
- Unsweetened Cocoa Powder: 1/2 cup. This gives us a deep, robust chocolate flavor. Don’t use Dutch-processed for this recipe.
- All-Purpose Flour: 1/2 cup. We use just enough to give the brownies structure without making them cakey.
- Salt: 1/4 teaspoon. A little salt makes all the sweet flavors pop.
For the Creamy Peanut Butter Cheesecake Swirl:
- Cream Cheese: One 8-ounce block, softened to room temperature. This is the most important step for a smooth filling!
- Creamy Peanut Butter: 1/2 cup. Standard commercial peanut butter like Jif or Skippy works best here as it has stabilizers that prevent oil separation.
- Granulated Sugar: 1/3 cup.
- Large Egg: Just 1 for the filling.
- Vanilla Extract: 1/2 teaspoon.
Essential Kitchen Tools
You don’t need any special equipment for this easy brownie recipe.
- 8×8 inch square baking pan
- Parchment paper
- Two mixing bowls
- A whisk and a rubber spatula
- An electric hand mixer (or stand mixer) for the cheesecake filling
How to Make the Best Peanut Butter Cheesecake Brownies, Step-by-Step
Ready to create some magic? Follow these simple steps. I’ll share my best tips along the way to guarantee success.
Step 1: Get Your Oven and Pan Ready
First things first, preheat your oven to 350°F (175°C). Position a rack in the middle of the oven.
Next, prepare your 8×8 inch pan. I have a trick that makes getting the brownies out a breeze. Take two pieces of parchment paper. Cut them to fit the width of the pan, but leave a few inches of overhang on two opposite sides. Lay one sheet in the pan, then place the second sheet across it, creating a “sling.” This way, you can just lift the entire block of brownies out once they’ve cooled. Lightly grease the paper and any exposed parts of the pan.


Step 2: Mix the Fudgy Brownie Batter
- In a medium bowl, whisk together the melted butter and granulated sugar until they are well combined. Don’t worry if it looks a little grainy.
- Add the 2 eggs and the vanilla extract. Whisk vigorously for about a minute. You’ll see the mixture become glossy and smooth. This step helps create that lovely, thin, crackly top on the finished brownies.
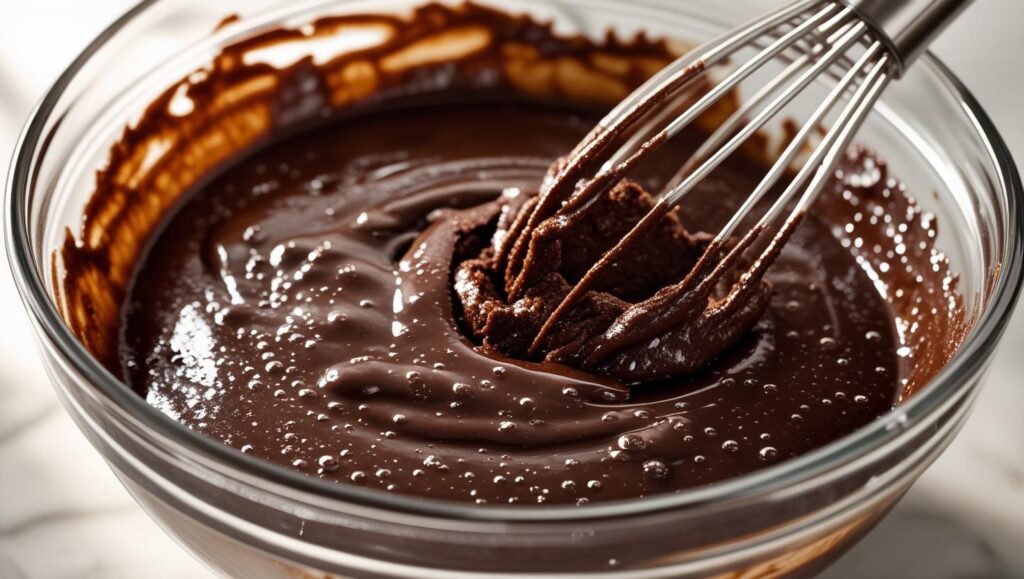
Now, place a sifter or a fine-mesh sieve over your bowl and add the cocoa powder, flour, and salt. Sifting prevents lumps, especially from the cocoa powder, giving you a perfectly smooth batter. Gently fold the dry ingredients into the wet ingredients with a rubber spatula until just combined. Be careful not to overmix! Overmixing develops the gluten in the flour, which can make your brownies tough.
Step 3: Whip Up the Cheesecake Filling
- In a separate bowl, it’s time to make the creamy cheesecake swirl. Using an electric mixer, beat the softened cream cheese on medium speed until it’s completely smooth and has no lumps. This is why room temperature is key! Cold cream cheese will be lumpy, no matter how much you beat it.
- Add the peanut butter, sugar, egg, and vanilla. Beat again until everything is smooth and creamy. Scrape down the sides of the bowl to make sure it’s all incorporated.
Step 4: Assemble, Swirl, and Bake
- Pour about two-thirds of the brownie batter into your prepared pan and spread it into an even layer.
- Next, drop spoonfuls of the peanut butter cheesecake filling all over the brownie batter. You don’t have to be neat about it. Fill in the gaps with dollops of the remaining brownie batter.
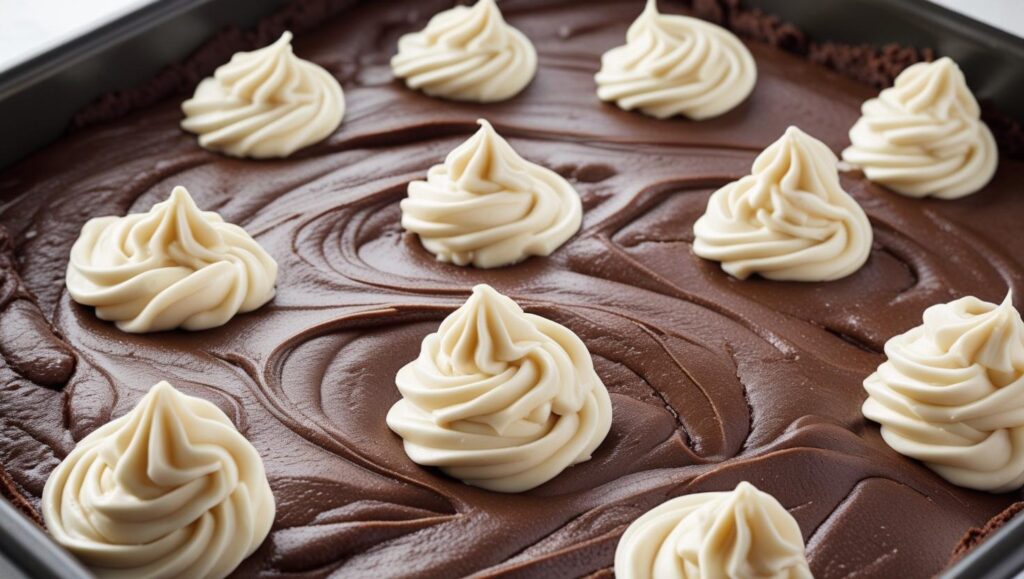
- Now for the fun part! Take a butter knife or a small offset spatula and gently drag it through the batters to create a marbled pattern. My advice: less is more. Two or three passes are usually enough. If you over-swirl, the colors will become muddy.
- Bake for 35-45 minutes. The edges should be set, and a toothpick inserted into the center should come out with moist crumbs, not wet batter. The cheesecake parts will have a very slight jiggle to them.
Step 5: Cool Completely (This is Important!)
I know it’s tempting to dig in right away, but this is a crucial step. Let the brownies cool completely in the pan on a wire rack, for at least 3 hours. Then, cover and transfer them to the refrigerator for at least another hour (or overnight!).
Chilling allows the cheesecake layer to set properly, which makes for clean, beautiful slices. Trust me, the wait is worth it! Once chilled, use your parchment paper sling to lift the brownies out of the pan and cut them into squares.
My Top Tips for Success
- Don’t Overbake: The number one rule for fudgy brownies is to pull them from the oven when they are slightly underdone. They will continue to cook from the residual heat in the pan.
- Room Temperature is Your Friend: For the cheesecake layer, softened cream cheese and a room-temperature egg are non-negotiable for a silky texture.
- Use High-Quality Cocoa: Your brownies will only taste as good as your chocolate. A good quality unsweetened cocoa powder makes a huge difference.
A Perfect Treat for Any Occasion
This peanut butter cheesecake brownies recipe is more than just a dessert; it’s a showstopper that feels special but is secretly simple. It’s the perfect thing to have in your back pocket for bake sales, holidays, or just a quiet afternoon with a cup of tea.
I hope you love making—and eating—these as much as my family and I do. Happy baking!


