The Ultimate Holiday Pretzel Bites Recipe Your Family Will Devour
Create the ultimate Holiday Pretzel Bites with this easy, fail-proof recipe. Learn the secrets to achieving a perfectly chewy texture and a deep golden crust, making them the most irresistible Christmas appetizer your guests will rave about all season.
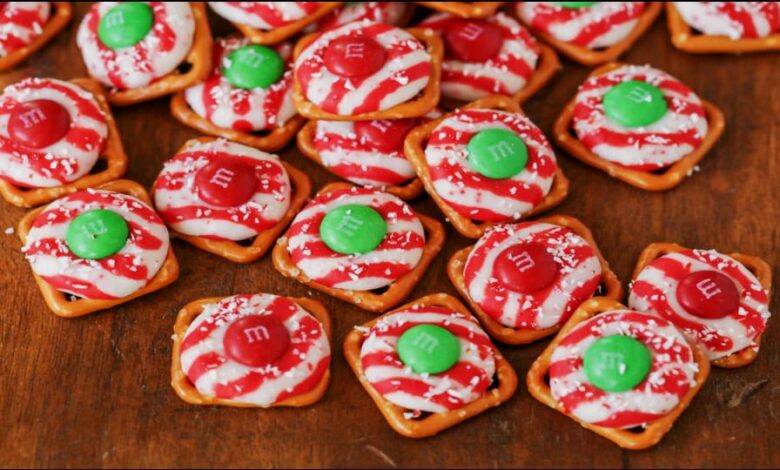
There’s a certain magic in the air during the holidays, isn’t there? The house is filled with the scent of pine, twinkling lights cast a warm glow, and there’s an endless parade of family and friends stopping by. In those moments, I always want a simple, crowd-pleasing snack on hand. That’s where these incredible Holiday Pretzel Bites come in. Forget the store-bought frozen kind; we’re making pillowy, chewy, perfectly salty bites of pretzel heaven from scratch. They emerge from the oven golden brown and smelling divine, ready to be dunked in your favorite dip. Trust me, with this recipe, you’re not just making a snack; you’re creating a new holiday tradition.
Quick Recipe
- Preparation Time: 10M
- Cooking Time: 5M
- Total Time: 15M
- Type of dish: Dessert, Snack
- Cuisine: American
- Recipe Yield: 48 bites
- Calories: 35 calories per bite
Why This Recipe Just Works
| Key to Success | Why It Matters |
| Simple, Pantry-Staple Ingredients | No need for a special trip to the store. You likely have everything you need right now. |
| The “Magic” Baking Soda Bath | This is the non-negotiable step for achieving that authentic, chewy pretzel crust and deep golden color. |
| Perfect for Beginners | The dough is forgiving, and the steps are broken down to be completely foolproof. |
| Versatile for Any Occasion | Easily customized with sweet or savory toppings for any holiday gathering. |
A Holiday Appetizer Everyone Will Adore
For years, I was intimidated by the idea of making homemade soft pretzels. It seemed like something best left to the pros at the mall. But I’m here to tell you it’s one of the most rewarding and surprisingly simple things you can bake. The process is a joy, from the feel of the soft dough in your hands to the amazing aroma that fills your kitchen. These Holiday Pretzel Bites have become my signature offering for everything from tree-trimming parties to Christmas movie marathons. They are the perfect, comforting salty snacks to balance out all the holiday sweets.
Gather Your Ingredients
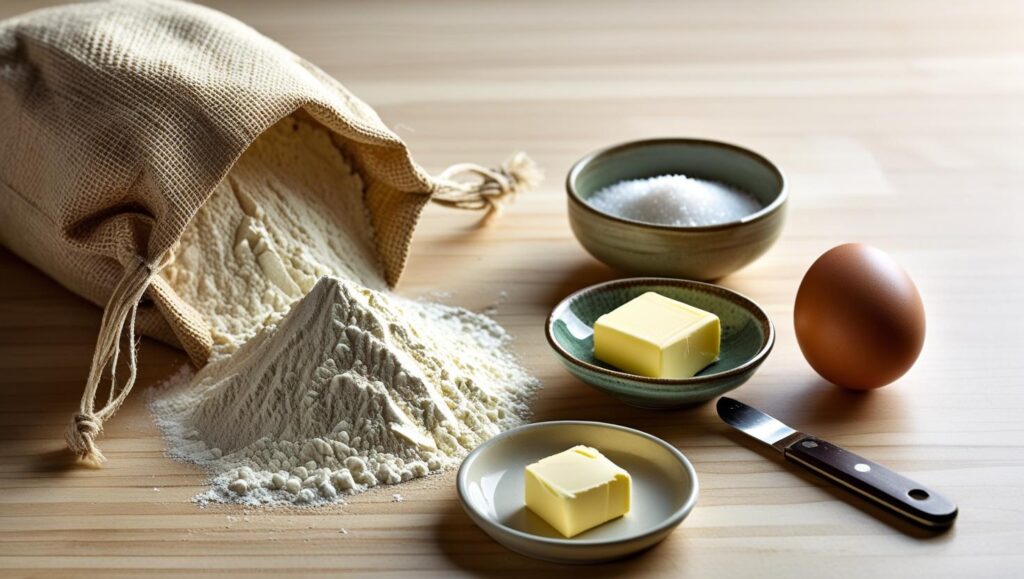
The beauty of this recipe lies in its simplicity. We’re using basic ingredients to create something truly special.
- Warm Water: It’s crucial that your water is warm (about 110°F/43°C) but not hot. This is what gently wakes up the yeast. Too hot, and it will kill it; too cold, and it won’t activate.
- Active Dry Yeast: One packet is all you need. This is the magic that makes our dough rise and become light and airy.
- Brown Sugar: Just a tablespoon to “feed” the yeast and add a subtle depth of flavor that complements the saltiness.
- Melted Butter: This adds richness and tenderness to the dough.
- Bread Flour: I highly recommend bread flour for this recipe. It has a higher protein content than all-purpose flour, which develops more gluten and gives these bites their signature chewy texture. If all you have is all-purpose, it will still work, but the texture will be a bit softer and less chewy.
- Salt: Fine sea salt goes into the dough, and coarse pretzel salt is for that classic finish.
- Baking Soda: This is for the essential baking soda bath. We’ll talk more about this crucial step below!
- Egg: A quick egg wash is the secret to that beautiful, shiny, deep golden-brown crust.
Essential Tools for Pretzel Perfection
You don’t need any fancy equipment for this recipe. Here are the basics:
- Stand Mixer (optional, but helpful for kneading)
- Large Mixing Bowl
- Measuring Cups and Spoons
- Bench Scraper or Knife
- Large Pot or Dutch Oven
- Slotted Spoon or Spider Strainer
- Baking Sheets
- Parchment Paper
- Pastry Brush
Let’s Get Baking! A Step-by-Step Guide
Follow these steps, and you’ll be on your way to perfect pretzel bites. I’ll walk you through it, explaining the “why” at each stage so you feel confident.
Step 1: Making and Kneading the Dough
- First, we need to proof our yeast to make sure it’s alive and ready to work. In the bowl of your stand mixer or a large mixing bowl, combine the warm water, yeast, and brown sugar. Give it a gentle whisk and let it sit for about 5-10 minutes. You’ll know it’s ready when it gets foamy and bubbly on top.
- Once the yeast is bubbly, add the melted butter, salt, and most of the bread flour. Using the dough hook attachment on your mixer (or a wooden spoon and your hands), mix on low speed until a shaggy dough forms.
- Now, it’s time to knead. Increase the speed to medium-low and knead for 5-7 minutes. If kneading by hand, turn the dough out onto a lightly floured surface and knead for 8-10 minutes. The goal is a dough that is smooth, elastic, and slightly tacky, but not sticky. If it’s too sticky, add a tablespoon of flour at a time.
Step 2: The First Rise
Lightly oil your mixing bowl, place the dough inside, and turn it over once to coat. Cover the bowl with a clean kitchen towel and place it in a warm, draft-free spot for about 60-90 minutes, or until it has doubled in size.
- My Pro Tip: A great warm spot is inside your oven with the light on (but the oven turned off!).
Step 3: Shaping Your Bites
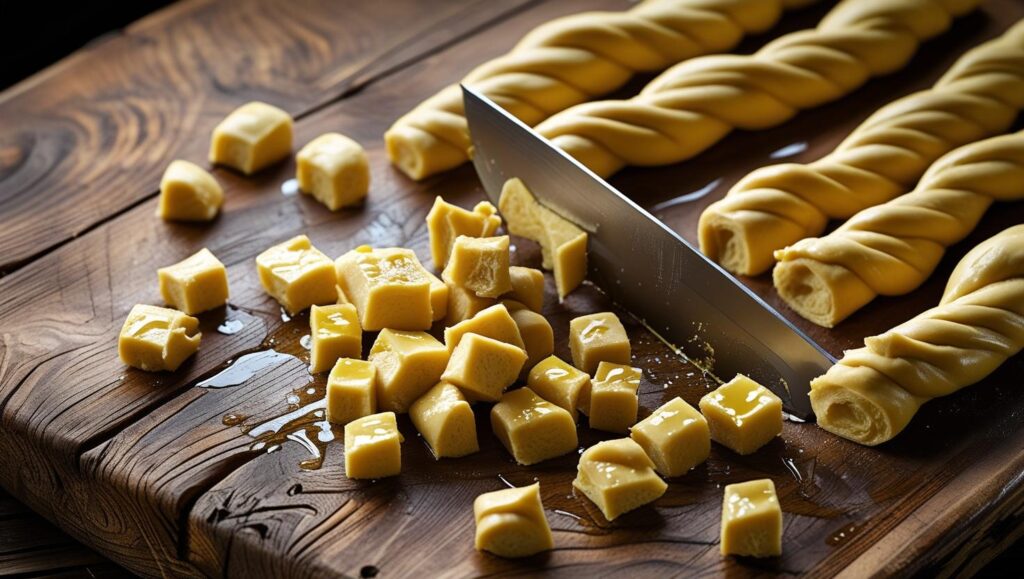
- Gently deflate the risen dough and turn it out onto a clean, un-floured surface. You want a little grip from the counter to make rolling easier. Divide the dough into 6 equal pieces.
- Roll each piece into a long rope, about 20-24 inches long. Don’t stress about getting it perfect! If the dough keeps shrinking back, cover it with a towel and let it rest for 5-10 minutes. This allows the gluten to relax. Once you have your ropes, use a bench scraper or a sharp knife to cut them into 1- to 2-inch pieces.
Step 4: The Magic Baking Soda Bath
- This is the most important step for making authentic homemade soft pretzels. The alkaline solution gelatinizes the outside of the dough, which prevents it from puffing up too much in the oven and helps create that iconic dark brown, chewy pretzel crust.
- Bring 9 cups of water to a rolling boil in a large pot. Carefully and slowly add the baking soda. It will bubble up quite a bit, so pour it in gradually.
- Working in batches, drop the pretzel bites into the boiling water for just 20-30 seconds. Any longer, and they can take on a metallic taste. Use a slotted spoon to remove them, let the excess water drip off, and place them on a parchment-lined baking sheet.
Step 5: Baking to Golden Perfection
- Preheat your oven to 425°F (220°C).
- In a small bowl, whisk the egg with a tablespoon of water to create an egg wash. Lightly brush the top of each pretzel bite with the wash. This is what gives them that beautiful shine and helps the salt stick. Immediately sprinkle them generously with coarse pretzel salt.
- Bake for 12-15 minutes, or until they are a deep golden brown. The smell alone will be your reward!
Holiday Topping and Dipping Ideas
While classic salted pretzels are amazing, it’s fun to mix things up for a festive Christmas appetizer.
- Savory Dips: Serve warm with a side of spicy beer cheese dip, warm queso, or a simple honey mustard.
- Sweet Topping: For a sweet treat, skip the salt before baking. After they come out of the oven, brush the warm bites with melted butter and toss them in a mixture of cinnamon and sugar.
- Everything Bagel: After the egg wash, sprinkle generously with everything bagel seasoning before baking.
A New Holiday Tradition
There is something so satisfying about pulling a tray of these golden Holiday Pretzel Bites from the oven. They are more than just a recipe; they are a fun activity, a delicious snack, and a guaranteed hit at any holiday gathering. I hope you and your family love making and eating them as much as mine does.
Happy Holidays and happy baking!


Easy Peanut Butter Cookie Dough Bites: Your New Favorite 20-Minute Treat


