No-Bake Dark Chocolate Snickers Cookies: The Easiest Treat You’ll Ever Make
These no-bake dark chocolate Snickers cookies are the perfect solution for a last-minute craving. This easy recipe features a rich, fudgy base with crunchy peanuts and chewy caramel bits, all without ever turning on your oven. It’s a foolproof, family-friendly treat everyone will love.
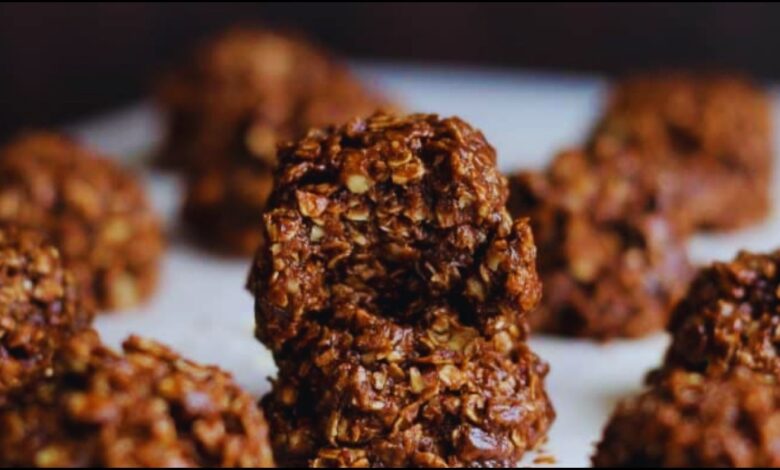
Have you ever had a serious chocolate craving hit when you least expect it? We’ve all been there—it’s late at night, you’re tired, and the thought of preheating the oven and pulling out a bunch of mixing bowls is just too much. That’s exactly where this recipe for no-bake dark chocolate Snickers cookies comes in. It’s the perfect solution for those moments when you need a decadent, satisfying dessert with minimal effort. Imagine sinking your teeth into a rich, fudge-like cookie loaded with crunchy peanuts, chewy caramel bits, and a generous drizzle of dark chocolate. The best part? No oven is required. Just a few simple steps stand between you and a plate of these irresistible treats.
Quick Recipe
- Preparation Time: 20M
- Cooking Time: 0S
- Total Time: 20M
- Type of dish: Dessert
- Cuisine: American
- Recipe Yield: 24 cookies
- Calories: 220 calories per cookie
Why These Cookies Are a Must-Make
- No Oven? No Problem! The entire recipe comes together on the stovetop and in the fridge, making it a perfect summer dessert or a quick treat any time of year.
- Perfect for Cravings: The combination of rich dark chocolate, salty peanuts, and sweet caramel is a match made in heaven.
- Customizable: Easily swap out ingredients to make it your own. Try milk chocolate, different kinds of nuts, or even a sprinkle of sea salt.
- Kid-Friendly: Kids love helping to mix the ingredients and shape the cookies, and they disappear just as quickly.
The Magic of No-Bake
The secret to these no-bake dark chocolate Snickers cookies is the base. We start by melting together a few key ingredients on the stovetop to create a rich, creamy, and oh-so-fudgy binder for all our mix-ins. I love using dark chocolate for this because it adds a deep, slightly bitter note that balances the sweetness of the caramel and the nuts perfectly. It’s a trick I learned years ago—using a high-quality dark chocolate bar or even dark chocolate chips makes a huge difference in the final flavor. The chocolate is the star, so don’t skimp!
This method is so great because it’s virtually foolproof. You’re not worrying about overmixing the dough, the cookies spreading in the oven, or getting the perfect texture. The stovetop process creates a smooth, cohesive mixture that sets beautifully in the fridge. This is especially helpful if you’re new to baking or just want a stress-free experience. Plus, it’s a fantastic recipe to make with kids. They get to see the whole process from start to finish without having to handle a hot oven.
Gathering Your Ingredients
Before you begin, make sure you have everything ready to go. A little prep work goes a long way. You’ll need a medium-sized saucepan, a large mixing bowl, a couple of baking sheets lined with parchment paper, and a measuring cup.
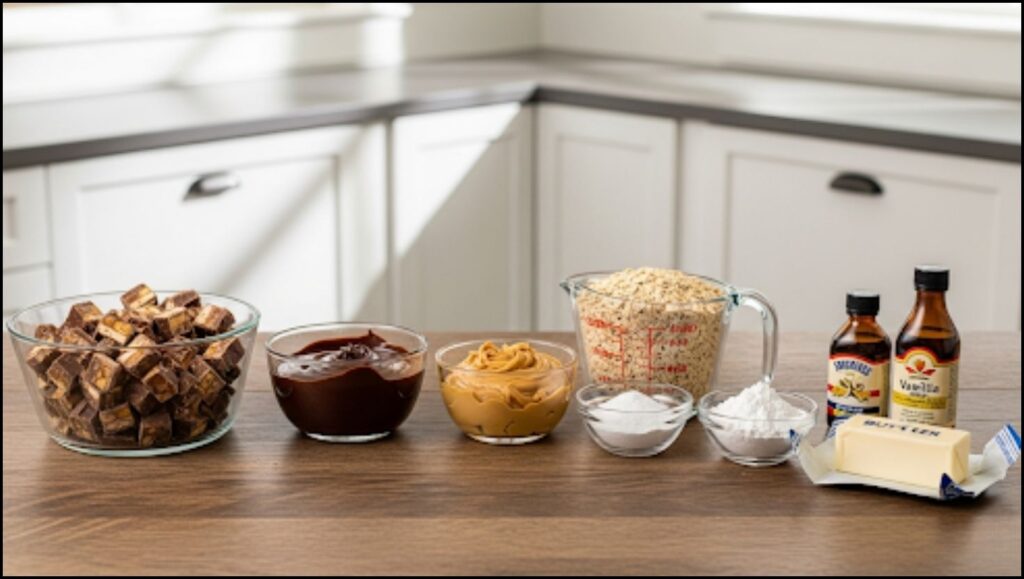
For the ingredients, you’ll need:
- Unsalted Butter: This is the base of our fudgy mixture. I prefer unsalted butter so I can control the saltiness myself.
- Granulated Sugar & Brown Sugar: The combination of both sugars creates a rich, molasses-like flavor and a wonderfully chewy texture.
- Milk: Any kind of milk will do, but whole milk makes the mixture even creamier.
- Cocoa Powder: Use unsweetened cocoa powder. The quality here really matters, so use your favorite brand for the best chocolate flavor.
- Peanut Butter: Creamy or crunchy, your choice! I love using creamy peanut butter for a smooth finish that binds everything together.
- Quick-Cooking Oats: These are essential. They absorb the liquid from our fudge base and give the cookies their chewy, hearty structure.
- Salted Peanuts: Use roasted and salted peanuts for that classic Snickers flavor. The saltiness is key to balancing the sweetness.
- Caramel Bits: These are a game-changer! They’re small, soft caramel pieces that melt slightly as you mix them in, creating pockets of chewy goodness throughout the cookie. You can find them in the baking aisle.
- Vanilla Extract: A splash of vanilla enhances the other flavors.
- Dark Chocolate: For a final drizzle. You can melt down a few ounces of dark chocolate chips or a chopped dark chocolate bar.
Step-by-Step Instructions: Creating Your Cookie Masterpiece
1. The Stovetop Magic
In a medium saucepan, combine the butter, granulated sugar, brown sugar, milk, and cocoa powder. Heat this mixture over medium heat, stirring occasionally, until the butter is completely melted and the sugars have dissolved. Once it comes to a rolling boil, set a timer for exactly one minute. Let it boil without stirring, then immediately remove the saucepan from the heat. This boiling step is crucial—it helps the sugars and butter reach the perfect consistency for setting. If you boil it for too long, your cookies can become crumbly. Too short, and they might not set at all.
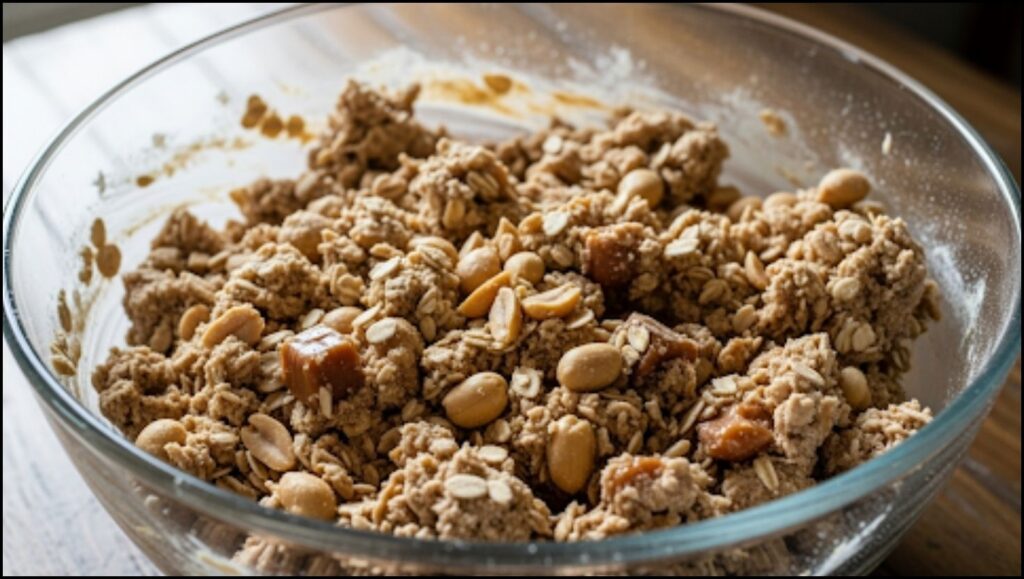
2. Stirring in the Goodness
Now for the fun part! Immediately add the peanut butter and vanilla extract to the hot mixture. Stir until the peanut butter is completely melted and the mixture is smooth and well-combined. Next, fold in the quick-cooking oats, salted peanuts, and caramel bits. Stir everything together quickly but gently until all the ingredients are evenly coated. Don’t let it sit too long, as it will start to set up fast!
3. Scooping and Shaping
Working quickly, use a tablespoon or a small cookie scoop to drop spoonfuls of the mixture onto your prepared baking sheets. The mixture will be soft and a little sticky, so you can gently press the tops to flatten them slightly if you like. The heat from the mixture will soften the caramel bits, creating those delightful pockets of chewiness.
4. The Final Touch
Once all your cookies are scooped, it’s time to add a beautiful finish. Melt the remaining dark chocolate in a small bowl in the microwave in 30-second intervals, stirring in between. Once it’s smooth, you can use a spoon to drizzle the melted chocolate over the tops of the cookies. This not only looks great but adds another layer of rich chocolate flavor. A sprinkle of sea salt on top of the melted chocolate is an excellent final touch to highlight the sweetness.


5. Chilling Out
Place the baking sheets in the refrigerator for at least 30 minutes, or until the cookies are firm and completely set. This chilling time is what makes them “no-bake” and gives them their perfect, fudgy texture. Once they’re firm, you can transfer them to an airtight container and store them in the fridge for up to a week.
The Perfect Treat for Any Occasion
These no-bake dark chocolate Snickers cookies are more than just a quick fix; they’re a reliable, delicious treat you’ll turn to again and again. They’re perfect for bringing to a potluck, packing in a lunchbox, or simply enjoying on the couch with a cup of coffee. The rich, chewy, and crunchy texture is simply irresistible. This recipe proves that you don’t need a fancy kitchen or a lot of time to create something truly special. So go on, give them a try. I know you’ll be proud of the result. Happy cooking!
The Best Peanut Butter Oatmeal Chocolate Chip Cookies You’ll Ever Make


