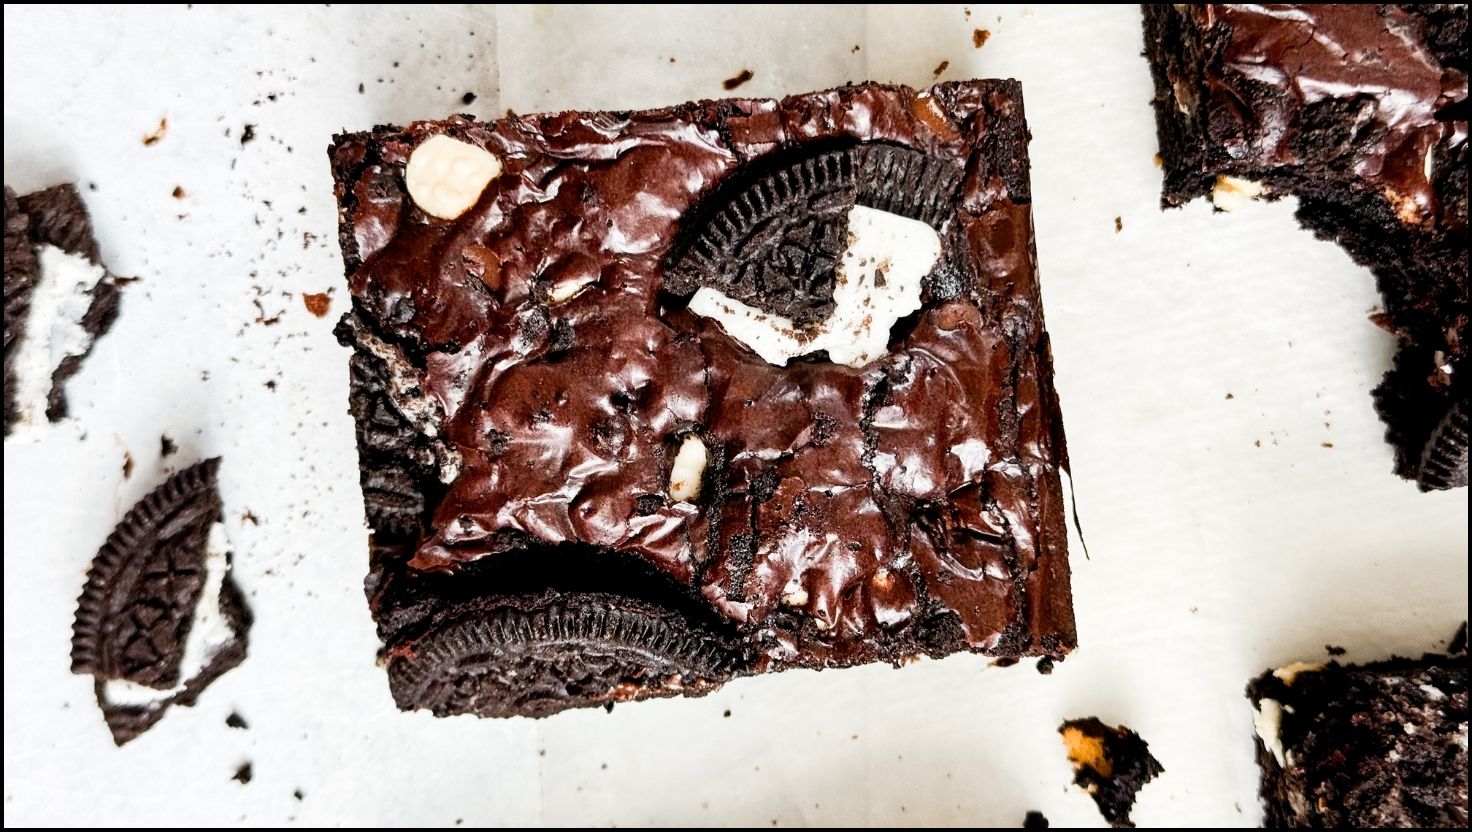
There are moments in life that just call for a truly spectacular dessert. Maybe it’s a rainy Sunday afternoon, a last-minute bake sale you forgot about, or just a powerful craving for something rich, chocolatey, and comforting. For me, in all those moments, the answer is always brownies. But not just any brownies—I’m talking about these incredibly rich and Fudgy Oreo Brownies.
These aren’t your average cakey squares. We’re talking dense, gooey centers, chewy edges, a shiny, crackly top, and a generous crunch of Oreo cookies in every single bite. This recipe has become my go-to because it’s practically foolproof and delivers bakery-quality results right from your own oven. Forget the box mix; this is the real deal, and it’s easier than you think. So, grab your apron and a glass of milk. We’re about to make the best brownies of your life.
Quick Recipe
- Preparation Time: 20M
- Cooking Time: 35M
- Total Time: 55M
- Type of dish: Dessert
- Cuisine: American
- Recipe Yield: 16 brownies
- Calories: 280 kcal
Why This Recipe Just Works
| Key Takeaway | Why It Matters |
| Incredibly Fudgy Texture | We use a combination of melted chocolate and a higher fat-to-flour ratio to guarantee a dense, gooey center. |
| Packed with Oreo Flavor | By using both chopped Oreos in the batter and whole ones on top, you get that classic cookie crunch in every bite. |
| Simple, No-Mixer Recipe | All you need is a bowl and a whisk! This makes for an easy process and even easier cleanup. |
| The Perfect Crackly Top | I’ll share my secret for achieving that beautiful, paper-thin shiny top that signals a truly great brownie. |
The Key Ingredients for the Best Oreo Brownies
Great baking starts with great ingredients. One of the reasons I love making homemade brownies is that you control the quality of everything that goes in. Here’s what you’ll need and, more importantly, why you need it.
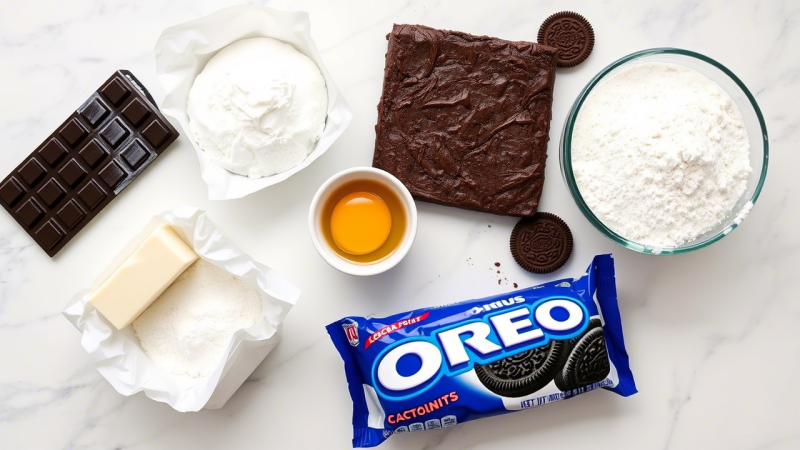
Chocolate & Cocoa: The Double-Duty Duo
For the richest flavor, we use both melted chocolate and unsweetened cocoa powder. The melted semi-sweet chocolate is the foundation, providing the fudgy texture and deep flavor. The cocoa powder adds another layer of dark, complex chocolate taste that really makes these brownies sing. Don’t just use one or the other—the combination is what makes them special.
Butter: For Richness and Fudginess
We use real, unsalted butter here. Melting it with the chocolate creates the luscious, liquid base for our batter. Using unsalted butter lets you control the salt level perfectly. If you only have salted, just reduce the added salt in the recipe by half.
Sugar: More Than Just Sweetness
This recipe uses both granulated and brown sugar. Granulated sugar helps create that coveted shiny, crackly top. The brown sugar, with its molasses content, adds moisture and a slight chewiness, which is essential for a truly fudgy brownie.
Eggs: The All-Important Binder
Eggs do a lot of work! They bind the ingredients, add richness, and help the brownies rise just enough. The real secret? Making sure your eggs are at room temperature. They’ll mix more evenly into the batter, creating a smoother texture. A quick tip: if you forget to take them out, just place them in a bowl of warm (not hot) water for 5-10 minutes.
The Oreos: Our Star Player
This wouldn’t be a recipe for Fudgy Oreo Brownies without them! We’ll roughly chop most of the cookies to fold into the batter. This ensures you get chunks of that classic cookie and cream filling throughout. We also press a few more on top before baking for that classic, crave-worthy look.
Essential Tools for Brownie Success
You don’t need any fancy equipment for this easy brownie recipe. Here are the basics:
- 8×8 inch (20×20 cm) Metal Baking Pan: Metal heats more evenly than glass, which is key for getting those perfect edges.
- Parchment Paper: This is my non-negotiable for brownies. It prevents sticking and lets you lift the entire slab out of the pan for easy, clean cutting.
- A Large Mixing Bowl: One bowl is all you need!
- A Whisk & A Spatula: A whisk for the wet ingredients and a spatula for folding everything together.
How to Make Fudgy Oreo Brownies, Step-by-Step
Let’s break it down. Follow these steps, and you’ll have flawless brownies every time.
Step 1: Prep Your Pan and Oven
- First things first, preheat your oven to 350°F (175°C). Position a rack in the middle of the oven.
- Next, prepare your 8×8 inch pan. Take a sheet of parchment paper and press it into the pan, leaving some overhang on two sides to act as “handles.” This little trick is a game-changer for getting your brownies out later.
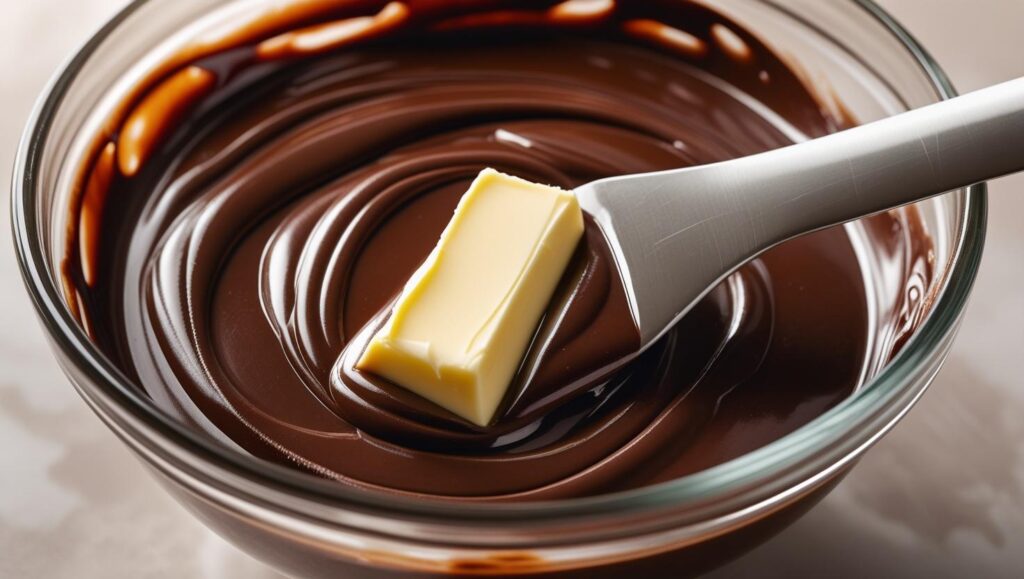
Step 2: Melt the Chocolate and Butter
In a large, microwave-safe bowl, combine the chopped semi-sweet chocolate and the cubed butter. Microwave in 30-second intervals, stirring in between, until it’s smooth and glossy. Be patient here! You don’t want to scorch the chocolate. You can also do this in a double boiler on the stovetop if you prefer.
Step 3: Whisk in the Sugars and Eggs
- Remove the bowl from the heat and whisk in the granulated and brown sugars until fully combined. The mixture might look a bit grainy, and that’s okay.
- Now for the key to that crackly top: add the room-temperature eggs one at a time, whisking vigorously for about 30-45 seconds after each addition. You’ll see the batter become thick, glossy, and smooth. This step aerates the mixture just enough to create that beautiful meringue-like top crust. Finally, stir in the vanilla extract.
Step 4: Fold in the Dry Ingredients
Sprinkle the flour, cocoa powder, and salt over the wet ingredients. Using a rubber spatula, gently fold everything together until just a few streaks of flour remain. It is so important not to overmix here! Overmixing develops the gluten in the flour, which leads to tough, cakey brownies instead of fudgy ones.
Step 5: Add the Oreos!
Gently fold in your chopped Oreo cookies. Save a few for the top!
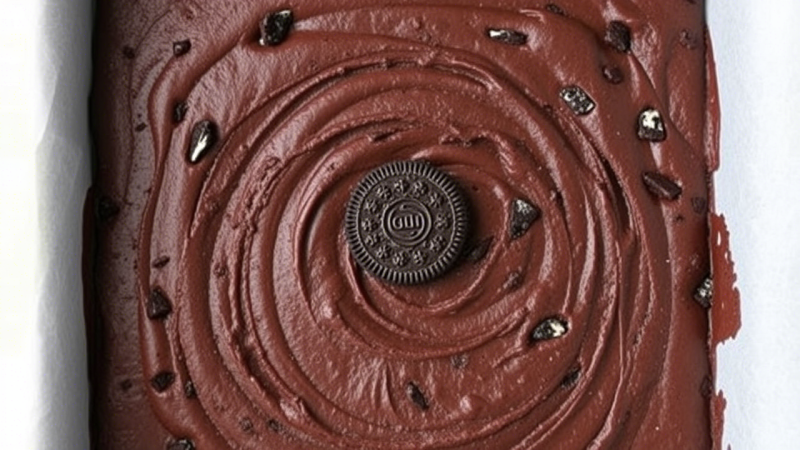
Step 6: Bake to Perfection
Pour the batter into your prepared pan and smooth the top with your spatula. Press the remaining Oreo pieces lightly into the top of the batter.
Bake for 30-35 minutes. The edges should look set, and the center should look just slightly underdone. The best way to check is with a toothpick: when inserted into the center, it should come out with a few moist, fudgy crumbs attached, not wet batter. If it comes out clean, you’ve gone too far!
Step 7: The Hardest Part… Let Them Cool!
I know it’s tempting, but you must let the brownies cool completely in the pan on a wire rack. This allows the center to finish setting up, resulting in that perfectly dense and fudgy texture. Trying to cut them while warm will result in a gooey mess. I promise the wait is worth it. Once cool (at least 2 hours), use the parchment handles to lift them out and cut them into squares.
A Recipe to Keep Forever
This recipe for Fudgy Oreo Brownies is more than just a set of instructions; it’s a reliable friend in the kitchen. It’s the dessert you bring to a potluck that has everyone asking for the recipe. It’s the treat you whip up on a whim to turn an ordinary day into a special one.
I hope you love making—and eating—these as much as my family and I do. Happy baking!
Read More
These 15 Dessert for Breakfast Recipes My Family Adores (#4 is our favourite)
 The Ultimate Filipino Fried Chicken Recipe for Crispy, Juicy Perfection
 Unlock Flavor: How to Make the Perfect Avocado Veggie Panini Every Time
 The Easiest Weeknight Chicken Pizzaiola Dish You’ll Ever Make
 The Secret to a Perfectly Healthy Homemade Palak Paneer