Ever have one of those moments? Friends are coming over in an hour, you peek into your fridge, and… nothing. No snacks, no plan. I’ve been there more times than I can count. That’s exactly how this incredible Creamy Basil Dip became a staple in my home. It’s my secret weapon for turning a potential panic into a guaranteed party-pleaser. This dip is unbelievably fresh, vibrant, and packed with the gorgeous aroma of basil. It’s the kind of appetizer that looks elegant but is secretly one of the simplest things you’ll ever make.
This isn’t just another dip recipe; it’s your new go-to for everything from casual get-togethers to a simple, delicious snack for yourself. The smooth, rich texture combined with the bright, peppery flavor of fresh basil is truly a match made in heaven. Let’s get you started, I promise you’re going to love this.
Quick Recipe
- Preparation Time:
5M - Cooking Time:
5M - Total Time:
10M - Type of dish: Appetizer, Dip, Spread
- Cuisine: American
- Recipe Yield: 8 servings (makes approx. 2 cups)
- Calories: 160 kcal per serving (approx. 1/4 cup)
Why This Recipe Is a Keeper
| Benefit | Description |
| Ready in 10 Minutes | Seriously! All you need is a food processor and a handful of ingredients. |
| Incredibly Versatile | Perfect as a dip, a sandwich spread, or even a sauce for pasta or chicken. |
| A Crowd-Pleaser | The fresh, vibrant flavor appeals to everyone, from kids to sophisticated palates. |
| Uses Fresh Ingredients | The best way to use up that beautiful bunch of basil from your garden or the store. |
What Goes into This Creamy Basil Dip?
One of the things I love most about this dip is its simple, wholesome ingredient list. There’s nothing fussy here, just pure, fresh flavor. Here’s what you’ll need and why each component is important.
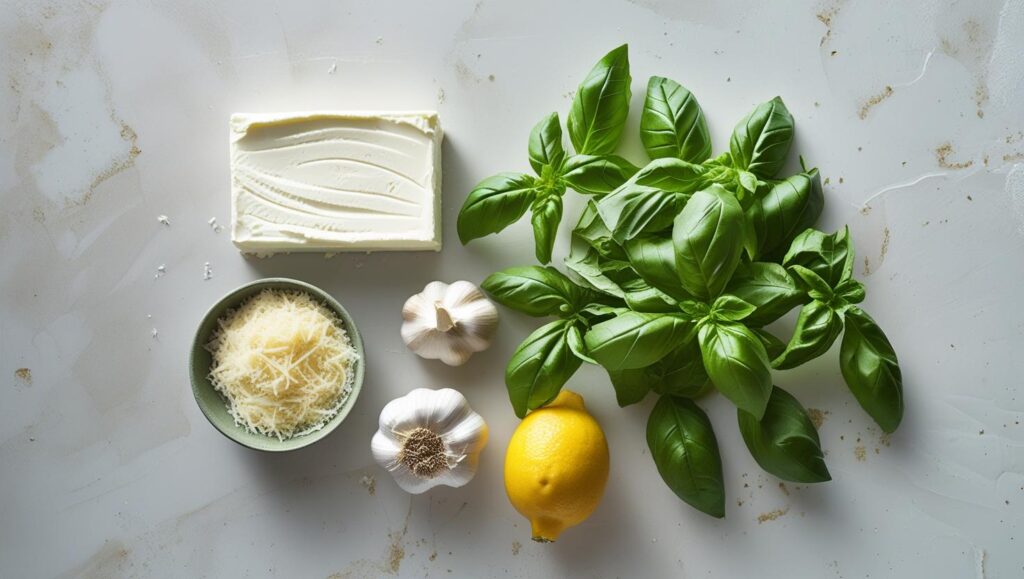
- Fresh Basil: This is the star of the show. You’ll want two packed cups of fresh basil leaves. The flavor of fresh basil is unmatched—it’s sweet, slightly peppery, and incredibly aromatic. Don’t even think about using dried basil here; it just won’t be the same.
- Cream Cheese: This is the foundation of our
cream cheese basil dip. It provides that luscious, rich texture and a tangy flavor that balances the basil perfectly. Make sure it’s softened to room temperature. This is a crucial step! If it’s too cold, your dip will be lumpy. Just leave it on the counter for about an hour before you start. - Sour Cream or Greek Yogurt: I often use full-fat sour cream for its richness, but plain Greek yogurt is a fantastic, healthier alternative that adds a wonderful tang. This ingredient loosens up the cream cheese, making the dip smooth and scoopable.
- Grated Parmesan Cheese: Please, if you can, grate your own. The pre-shredded kind often has anti-caking agents that can give your dip a slightly gritty texture. A wedge of good Parmesan will add a salty, nutty depth of flavor that is simply divine.
- Garlic: A clove or two of fresh garlic adds a pungent kick that cuts through the richness of the cheese. I always suggest starting with one clove, tasting, and then adding more if you’re a fellow garlic lover.
- Lemon Juice: This is the secret to a bright, fresh-tasting dip. A squeeze of fresh lemon juice wakens up all the other flavors. It also helps keep that beautiful green color vibrant.
- Salt and Black Pepper: To taste. These are essential for bringing all the flavors together.
Essential Tools
You don’t need a lot of fancy equipment for this easy basil dip. Here are the basics:
- Food Processor or High-Powered Blender: This is the most important tool. It’s what will get your dip perfectly smooth and creamy in seconds.
- Rubber Spatula: For scraping down the sides of the food processor bowl. You don’t want to leave any tasty bits behind!
- Measuring Cups and Spoons
How to Make Creamy Basil Dip: A Step-by-Step Guide
Making this dip is as simple as “dump and blend,” but a couple of small details make all the difference between a good dip and a great one.
Step 1: Prepare Your Ingredients
First things first, gather everything you need. Wash and thoroughly dry your basil leaves. This is important because excess water can make your dip runny. A salad spinner works wonders here! Peel your garlic and give it a rough chop. Make sure your cream cheese is nice and soft.
Step 2: Combine the Base Ingredients
In the bowl of your food processor, add the softened cream cheese, sour cream (or Greek yogurt), grated Parmesan, chopped garlic, and the juice of half a lemon.
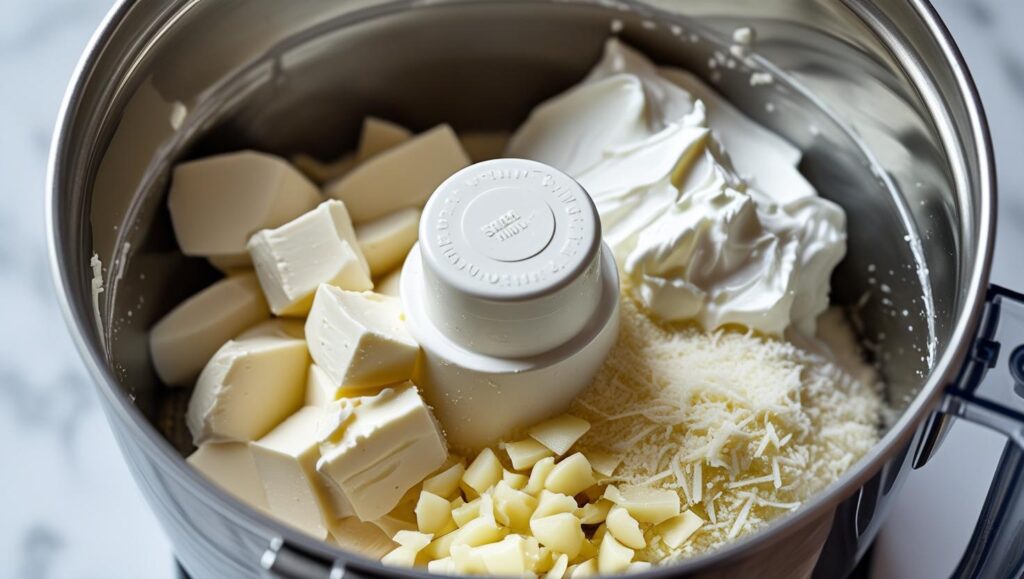
Step 3: Blend Until Smooth
Secure the lid and pulse the mixture a few times to break everything up. Then, blend on high for about 30-45 seconds, or until the mixture is completely smooth and creamy. Stop and scrape down the sides of the bowl with your rubber spatula to make sure everything is incorporated.
- Why this works: Blending the creamy base first ensures you don’t have any lumps of cream cheese. It creates a perfect canvas for the basil.
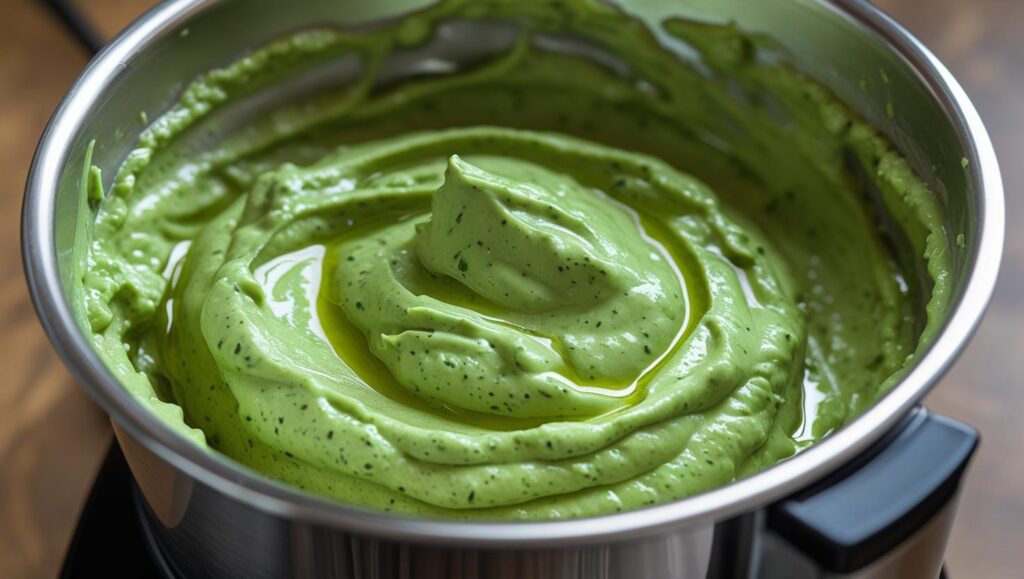
Step 4: Add the Basil and Finish
- Now, add your fresh basil leaves to the food processor. Pack them in there! Add a pinch of salt and a few grinds of black pepper. Secure the lid again and blend until the basil is finely chopped and the dip is a beautiful, uniform green color. This should only take about 30-60 seconds.
- Give it a final taste. Does it need more salt? A little more lemon juice for brightness? Now is the time to adjust it to your liking.
My Top Tips for Dip Success
- Don’t Over-Blend the Basil: Once you add the basil, blend just until it’s incorporated. Over-blending can generate heat, which can cause the basil to oxidize and darken.
- Taste as You Go: The amounts of garlic and lemon are suggestions. Your palate is the best guide! Start with a little and add more until it tastes perfect to you.
- For the Best Color: A little trick I learned is to briefly blanch the basil leaves. Drop them in boiling water for 15 seconds, then immediately plunge them into an ice bath. Pat them completely dry before adding them to the food processor. This sets the chlorophyll and keeps your dip greener for longer! This is an optional, slightly more advanced step for this
fresh basil recipe, but great if you’re making it ahead of time.
Fun Variations to Try
Once you master the basic recipe, feel free to get creative!
- Spicy Basil Dip: Add a pinch of red pepper flakes or a few slices of jalapeño.
- Nutty Basil Dip: Add 2-3 tablespoons of toasted pine nuts or walnuts for a pesto-like flavor.
- Extra Tangy: Swirl in a tablespoon of crumbled feta or goat cheese at the end.
How to Serve and Store Your Dip
This dip is fantastic right away, but the flavors meld and deepen if you let it chill in the refrigerator for at least 30 minutes.
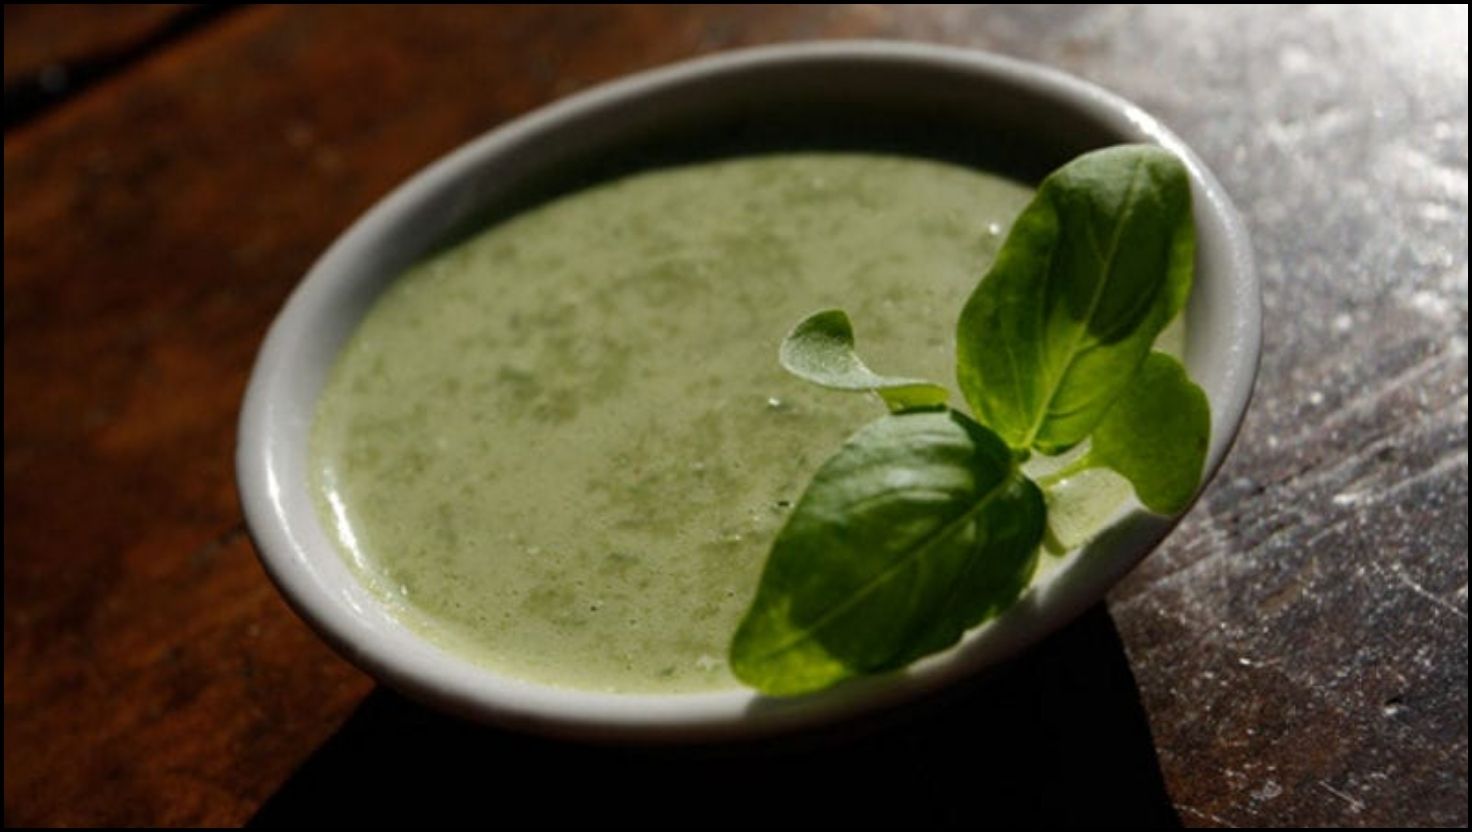
Serving Suggestions: Transfer the dip to a beautiful bowl and create a little swirl on top with a spoon. Garnish with a small basil leaf or a drizzle of good olive oil. Serve it with:
- Warm pita bread or crunchy pita chips
- A colorful platter of fresh veggies (carrots, cucumbers, bell peppers, cherry tomatoes)
- Crackers or pretzels
- As a spread on a turkey or grilled chicken sandwich
- Thinned with a little olive oil or water to make a creamy salad dressing
Storage: Store any leftover dip in an airtight container in the refrigerator for up to 4-5 days. The top might darken slightly over time, but you can just give it a good stir.
A Recipe You’ll Cherish
Having a recipe like this Creamy Basil Dip in your back pocket feels like a superpower. It’s a simple, elegant solution for so many occasions and a wonderful way to celebrate the flavor of fresh basil. It’s more than just a recipe; it’s a little piece of kitchen confidence.
I hope you and your loved ones enjoy this dip as much as my family does. Happy cooking!
 The Ultimate Filipino Fried Chicken Recipe for Crispy, Juicy Perfection
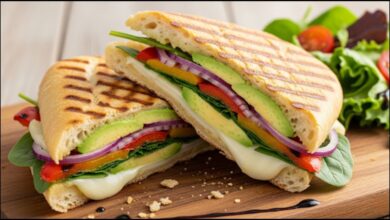 Unlock Flavor: How to Make the Perfect Avocado Veggie Panini Every Time
 The Easiest Weeknight Chicken Pizzaiola Dish You’ll Ever Make
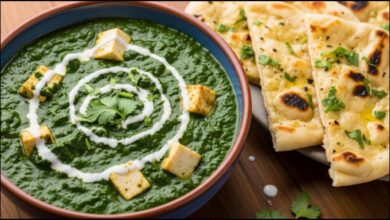 The Secret to a Perfectly Healthy Homemade Palak Paneer