The Best Chocolate Glazed Baked Mini Donuts You’ll Ever Make
Learn how to make the best homemade Chocolate Glazed Baked Mini Donuts with this easy, foolproof recipe. Skip the frying and the mess for a delicious, cakey donut topped with a rich, glossy chocolate glaze. Perfect for home bakers of all skill levels!
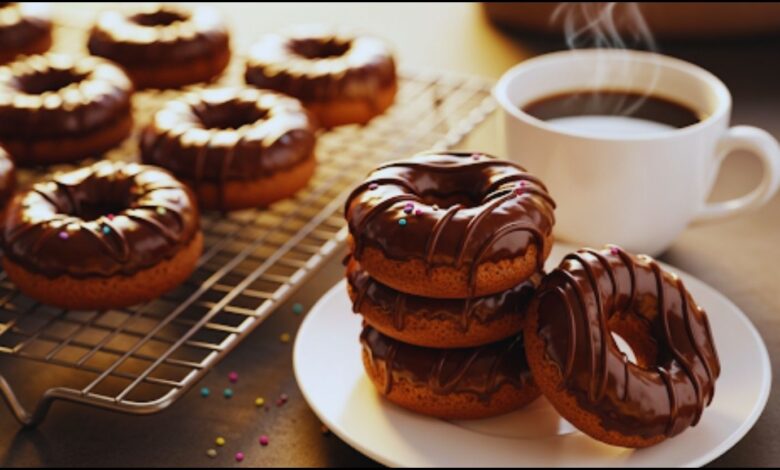
Do you ever get that craving for something sweet, something comforting, but don’t want to deal with the mess and fuss of a deep fryer? I know I do. It’s those mornings when the kids are sleeping in, the coffee is brewing, and the thought of a warm, fluffy donut just feels right. But let’s be honest, pulling out the deep fryer feels like a whole event, and a messy one at that. That’s exactly why I perfected this recipe for Chocolate Glazed Baked Mini Donuts. It gives you everything you love about a classic donut—that pillowy-soft texture and a rich, glossy chocolate glaze—without the grease. This recipe is a game-changer, and I promise you, it’s so simple you’ll be making them all the time.
Quick Recipe
- Preparation Time: 15M
- Cooking Time: 10M
- Total Time: 25M
- Type of dish: Dessert
- Cuisine: American
- Recipe Yield: 24 mini donuts
- Calories: Approximately 120 calories per mini donut
Key Takeaways
- No Frying, No Fuss: This recipe uses a simple donut pan and your oven, making cleanup a breeze and the donuts much lighter.
- Simple Ingredients: We’ll be using pantry staples you probably already have on hand. No fancy, hard-to-find ingredients here!
- Quick & Easy: From start to finish, you can have these delicious Chocolate Glazed Baked Mini Donuts ready in under 30 minutes.
- Customizable Fun: This recipe is a great base. Feel free to add sprinkles, nuts, or different glazes to make them your own.
The Magic of Baked Donuts: Why They’re a Must-Try
Before we dive into the recipe, let’s talk about why baking these donuts is the way to go. Traditional donuts get their texture from frying in hot oil, which can be intimidating and creates a lot of extra calories. By using a donut pan and baking them, we achieve a cake-like, tender crumb that’s just as satisfying. The key to keeping them light and airy is to not overmix the batter. We’ll be using a combination of baking powder and baking soda to give them the perfect lift. This method is not only easier but also creates a perfect canvas for our rich chocolate glaze.
Essential Tools for Success
You don’t need a lot of special equipment for this recipe, but there are a few things that will make your life much easier.
- Donut Pan: This is the most crucial tool. I prefer a non-stick mini donut pan, as it makes removing the donuts a cinch.
- Piping Bag or Ziplock Bag: This is my secret weapon for filling the donut pan cleanly and efficiently. Cutting a small corner off a Ziplock bag works just as well.
- Mixing Bowls & Whisk: You’ll need one for the wet ingredients and another for the dry.
- Wire Rack: Essential for cooling the donuts and letting the glaze set perfectly.
Let’s Get Baking! The Doughnut Batter
This recipe uses a simple, straightforward cake-style batter. The ingredients are probably already in your kitchen, so let’s get started. The batter comes together in just a few minutes, which is one of the things I love most about this recipe.
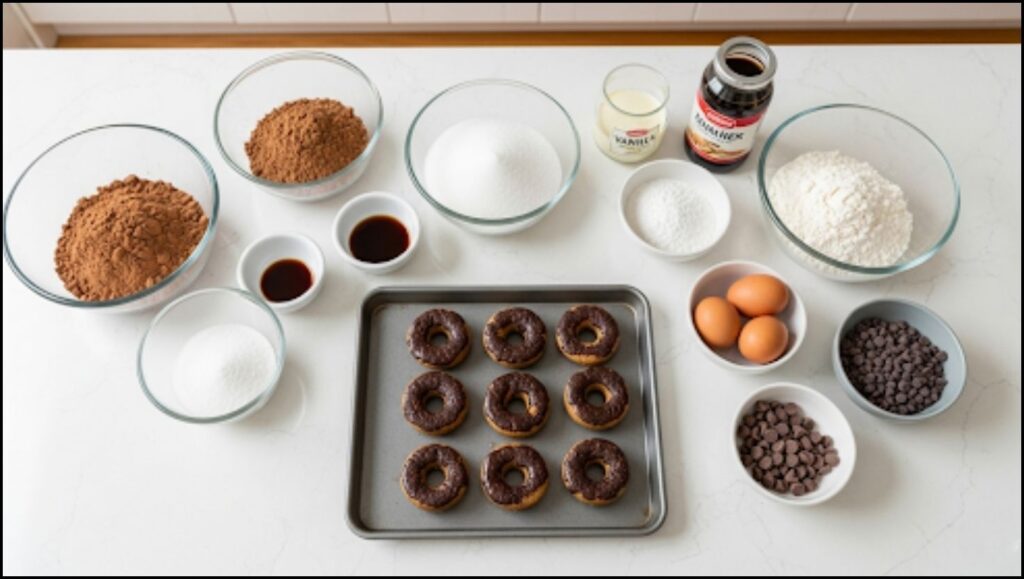
Ingredients:
- 1 cup all-purpose flour
- 1/2 cup granulated sugar
- 1 teaspoon baking powder
- 1/2 teaspoon baking soda
- 1/4 teaspoon salt
- 1/2 cup buttermilk (or regular milk with 1/2 tablespoon vinegar stirred in)
- 1 large egg
- 1/4 cup unsalted butter, melted
- 1 teaspoon vanilla extract
Instructions:
- Prep Your Pan and Oven: Preheat your oven to 350°F (175°C). Lightly grease your mini donut pan with non-stick spray, even if it’s non-stick. This extra step guarantees easy release.
- Mix Dry Ingredients: In a medium bowl, whisk together the flour, sugar, baking powder, baking soda, and salt. Whisking ensures all the dry ingredients are evenly distributed, so you don’t get a random pocket of baking soda in your donuts.
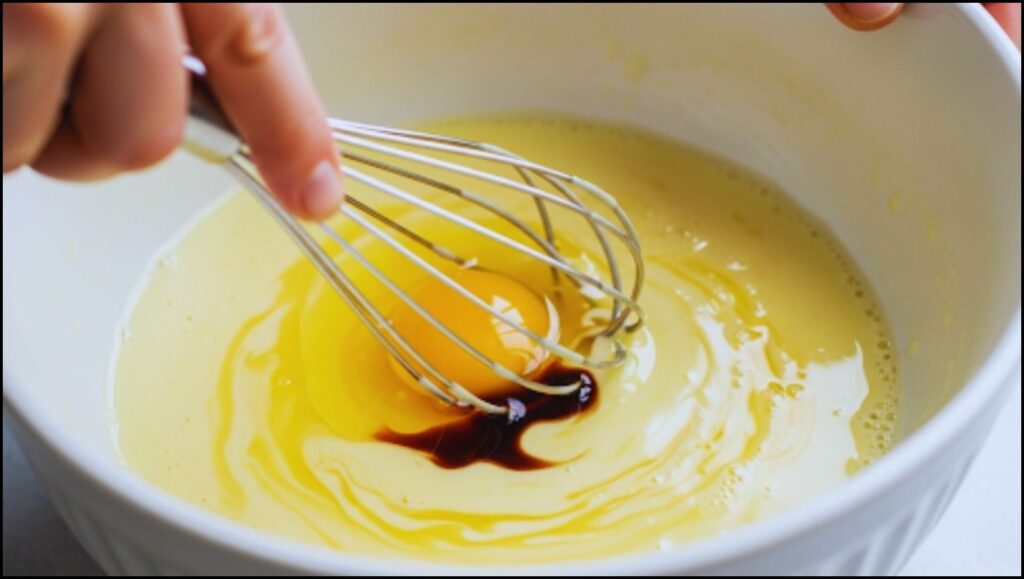
- Mix Wet Ingredients: In a separate, larger bowl, whisk together the buttermilk, egg, melted butter, and vanilla extract until smooth. Using buttermilk adds a lovely tang and moisture to the finished donuts, making them incredibly tender. If you don’t have buttermilk on hand, just add a half tablespoon of white vinegar or lemon juice to regular milk and let it sit for about 5 minutes.
- Combine Wet and Dry: Pour the dry ingredients into the wet ingredients. Gently fold the ingredients together with a spatula until just combined. A few lumps are perfectly fine! Do not overmix. Overmixing develops the gluten in the flour, which will result in tough, dense donuts instead of the fluffy ones we want. This is a very important step!
- Fill the Pan: Transfer the batter to a piping bag or a ziplock bag with a corner snipped off. This is the cleanest and easiest way to fill the donut cavities without a big mess. Fill each cavity about two-thirds of the way full.
- Bake: Bake for 8-10 minutes, or until the donuts spring back when lightly touched. Be careful not to overbake them, as they will become dry.
- Cool: Let the donuts cool in the pan for about 5 minutes before carefully turning them out onto a wire rack to cool completely. This prevents them from sticking and breaking apart. Cooling them completely is key before glazing, as a warm donut will melt the glaze.
A Treat That Feels Special, But is So Easy
There’s something so satisfying about pulling a tray of these perfect little donuts out of the oven. The smell fills the house, and the finished product looks like it came straight from a fancy bakery, but only you know how easy they were to make. They’re the perfect homemade treat for a weekend breakfast, a special occasion, or just because. This recipe for Chocolate Glazed Baked Mini Donuts will quickly become one of your go-to staples. Happy baking!
How to Make Warm & Fluffy Cinnamon Sugar Donut Balls at Home


