The Ultimate Guide to Making Irresistible Butterfinger Monster Cookies
Transform your leftover candy into a delicious dessert with this irresistible recipe for Butterfinger Monster Cookies. Our simple guide, packed with personal tips and tricks, will show you how to bake a chewy, crunchy, and absolutely perfect cookie every single time.

Have you ever found yourself with a bag of leftover candy and a craving for something truly special? That’s how this recipe for Butterfinger Monster Cookies was born. My kids came home from Halloween with a ridiculous haul of Butterfinger bars, and I knew I had to find a creative way to use them up. The idea hit me: combine the classic, chewy goodness of a monster cookie with the irresistible crunch of Butterfinger. The result? A cookie that’s crispy on the edges, soft in the center, and packed with that signature peanut butter and chocolate flavor. This recipe is your secret weapon for transforming simple ingredients into a show-stopping treat that everyone will rave about.
Quick Recipe
- Preparation Time: 15M
- Cooking Time: 12M
- Total Time: 27M
- Type of Dish: Dessert
- Cuisine: American
- Recipe Yield: 24 cookies
- Calories: 250 calories per cookie
Key Takeaways
- Chewy & Crunchy Texture: The perfect mix of two classic cookie textures in one amazing treat.
- Simple Ingredients, Big Flavor: Made with pantry staples like oats, peanut butter, and of course, Butterfinger candy.
- No-Chill Dough: Get from mixing bowl to warm cookies in under 30 minutes.
- A Fun, Family-Friendly Recipe: Perfect for baking with kids or for a fun weekend project.
The Baking Process: Don’t Rush Perfection
Now that your dough is ready, let’s get to baking. This recipe is a fantastic because you don’t need to chill the dough. The higher ratio of oats helps the cookies hold their shape, so you can scoop and bake right away.

Getting the Right Scoop
Using a cookie scoop is a game-changer for consistent cookie size and shape. I use a 2-tablespoon scoop, which makes perfectly portioned cookies that bake evenly. Roll the scooped dough into a ball and place it on a parchment-lined baking sheet, leaving about 2 inches between each cookie to allow for spreading.
Baking Time and Temperature
Preheat your oven to 350°F (175°C). The cookies will bake for about 10-12 minutes. You’ll know they’re done when the edges are set and a beautiful golden brown, but the centers still look slightly soft. Remember, the cookies will continue to cook on the baking sheet after you take them out of the oven. This is a crucial step for achieving that perfect chewy center.
Making Ahead and Storing Your Cookies
These Butterfinger Monster Cookies are so good, they rarely last long in my house. But if you do have leftovers, they store beautifully. Store them in an airtight container at room temperature for up to a week. For longer storage, you can freeze the baked cookies for up to 3 months. Just thaw them at room temperature for a few hours before enjoying. It also freezes wonderfully. Simply scoop the dough balls, place them on a baking sheet, and freeze until solid. Once frozen, transfer them to a freezer-safe bag. When you’re ready to bake, there’s no need to thaw just add a minute or two to the baking time.
Ingredients for Butterfinger Monster Cookies
Making these Butterfinger Monster Cookies is easy because they use a lot of common pantry staples. The key is using the right measurements, so I recommend a kitchen scale if you have one, but standard measuring cups work just fine too!
Cookie Dough:
- 1 cup (2 sticks or 226g) unsalted butter, softened to room temperature
- 1 cup (200g) granulated sugar
- 1 cup (220g) packed light brown sugar
- 2 large eggs, at room temperature
- 1 teaspoon vanilla extract
- 1 cup (250g) creamy peanut butter (I find classic brands like Jif or Skippy work best)
- 1 ½ cups (180g) all-purpose flour
- 1 teaspoon baking soda
- ½ teaspoon salt
- 2 cups (180g) old-fashioned rolled oats
Mix-Ins:
- 1 ½ cups (255g) semi-sweet chocolate chips (or a mix of milk and semi-sweet)
- 10-12 fun-size Butterfinger candy bars, crushed into pieces
Tools & Materials


- Large mixing bowl
- Hand mixer or sturdy whisk
- Rubber spatula
- Measuring cups and spoons
- Cookie scoop (2-tablespoon size)
- Baking sheets
- Parchment paper
The Secret to Perfect Monster Cookies
Monster cookies are a baker’s dream because they’re so forgiving. You get a little bit of everything in one cookie the oats give it a chewy texture, the peanut butter adds richness, and the chocolate chips bring that classic sweetness. My secret for a truly standout cookie is the right balance of ingredients, especially the ratio of butter and sugars, which affects how the cookie spreads and browns. For this Butterfinger Monster Cookies recipe, we’re using a mix of brown and granulated sugar to achieve a perfectly soft interior and slightly crispy edge. The brown sugar adds moisture and chewiness, while the granulated sugar helps the cookies spread just enough.
Assembling the Dough: A Step-by-Step Guide
The best part about these Butterfinger Monster Cookies is that the dough comes together in a single bowl no fancy mixer required!
Step 1: Cream the Butter and Sugars
Start by creaming together your softened butter, granulated sugar, and brown sugar. You can do this with a hand mixer or even a sturdy whisk. Creaming is the process of beating these ingredients together until they’re light and fluffy. This step is super important because it incorporates air into the dough, which gives your cookies a lighter, more tender texture and prevents them from being too dense.
Step 2: Add the Peanut Butter and Eggs
Next, beat in the peanut butter until it’s fully combined. I prefer creamy peanut butter for a smooth texture, but if you love a bit of extra crunch, go for crunchy peanut butter. After the peanut butter, add the eggs one at a time, mixing well after each addition. This ensures they are fully incorporated and helps prevent the dough from separating. Don’t worry if it looks a little clumpy at this stage—that’s normal!
Step 3: Mix in the Dry Ingredients
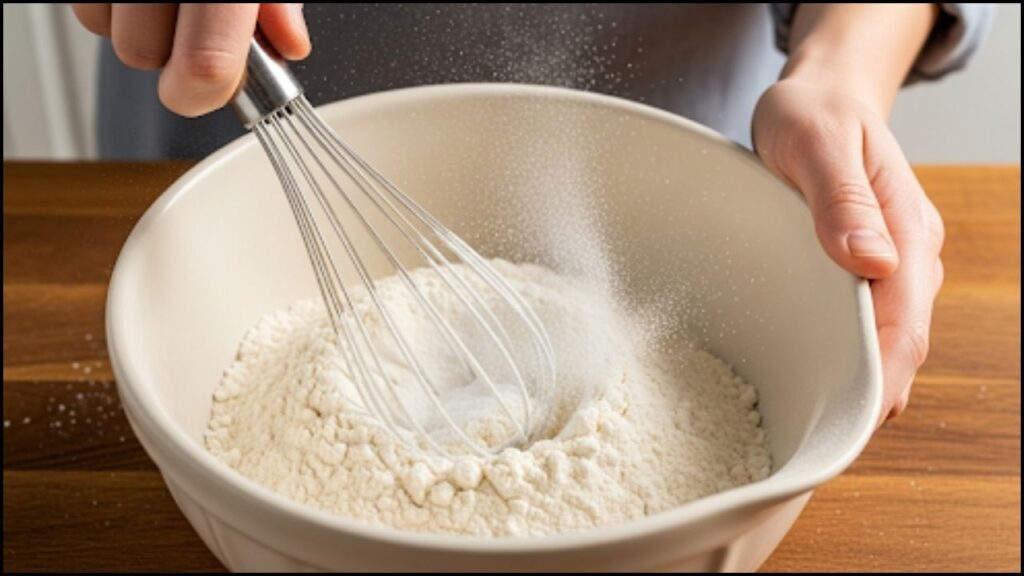
Now, it’s time to add your dry ingredients. In a separate bowl, whisk together the all-purpose flour, baking soda, and salt. Whisking ensures these ingredients are evenly distributed, so you don’t end up with a pocket of salt or a section of cookie that doesn’t rise properly. Slowly add this mixture to your wet ingredients and mix on low speed until just combined. Be careful not to overmix! Overmixing the flour can develop the gluten too much, leading to tough, chewy cookies.
Step 4: Fold in the Mix-Ins
This is where the magic happens! Gently fold in the rolled oats, chocolate chips, and the star of the show, your crushed Butterfinger candy bars. I like to use a combination of milk and semi-sweet chocolate chips, but feel free to use your favorite. For the Butterfinger, I’ve found that crushing them into various sizes gives the best texture some larger chunks for a satisfying bite and some smaller bits to distribute that flavor throughout the cookie.
Pro-Tip: For extra-pretty cookies, set aside a few chocolate chips and Butterfinger pieces to press into the tops of the dough balls right before baking.
Final Disclosure
This Butterfinger Monster Cookies recipe has become a staple in my kitchen. It’s the perfect cookie for satisfying a serious sweet tooth, and it’s a great way to use up leftover Halloween candy. The combination of chewy oats, rich peanut butter, and crunchy Butterfinger is truly unbeatable. So go ahead, preheat your oven, and get ready to bake a batch of cookies that are guaranteed to bring a smile to everyone’s face. Happy baking!


