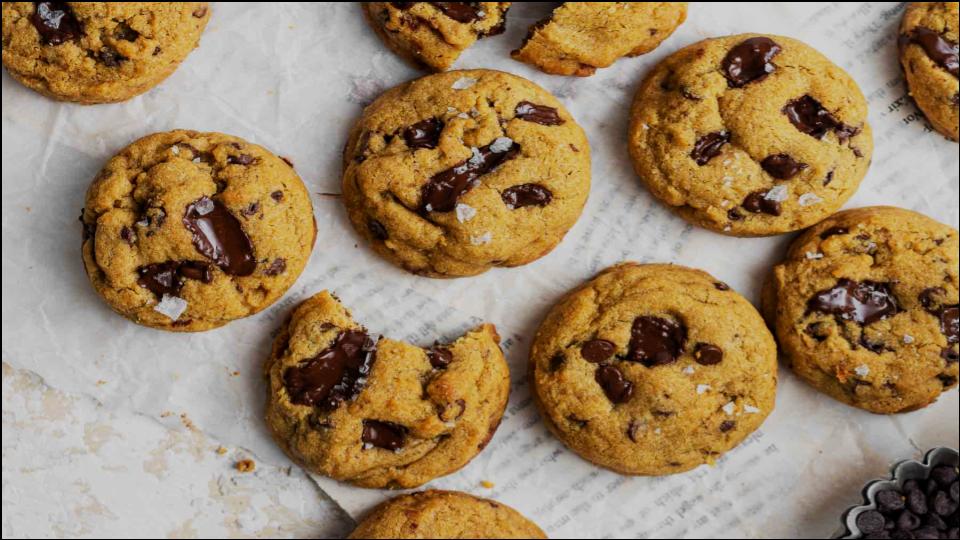
There’s a certain kind of craving that only a truly perfect cookie can satisfy. It’s not for anything fancy or complicated. It’s for a cookie that’s deeply comforting, wonderfully simple, and tastes like a warm hug. For me, that’s always been these Brown Sugar Cookies.
I’ve spent years tweaking this recipe in my own kitchen, aiming for that perfect balance: a cookie with irresistibly chewy centers, slightly crisp edges, and a rich, caramel-like flavor that you just can’t get from regular sugar cookies. This isn’t just another cookie recipe; it’s the one my family asks for again and again. Forget a dozen complicated steps. This recipe is straightforward, reliable, and I’m going to walk you through every single step. Get ready to bake the best cookies of your life.
Quick Recipe
- Preparation Time: 2H15M
- Cooking Time: 12M
- Total Time: 2H27M
- Type of dish: Dessert
- Cuisine: American
- Recipe Yield: 24 cookies
- Calories: 145 kcal per cookie
What Makes These Brown Sugar Cookies So Special?
You might be wondering, “What’s the big deal? It’s just a cookie without white sugar.” But trust me, the magic is in the details. By understanding why this recipe works so well, you’ll feel confident in your own kitchen. It’s all about the science of simple ingredients.
First, the flavor is in a league of its own. Using only dark brown sugar gives these cookies an incredible depth. The molasses in the sugar doesn’t just add moisture; it creates a warm, rich, almost butterscotch-like taste that is simply divine. They are the perfect brown sugar dessert for any occasion.
Second, we’re aiming for the ultimate texture. These aren’t light and cakey cookies. They are dense, moist, and gloriously chewy sugar cookies. We achieve this through a few key techniques that I’ll break down for you. It’s a truly easy cookie recipe that delivers bakery-quality results.
The Magic Is in The Ingredients
The beauty of this recipe lies in its simplicity. No fancy flours or hard-to-find extracts. Just pure, classic ingredients doing what they do best.
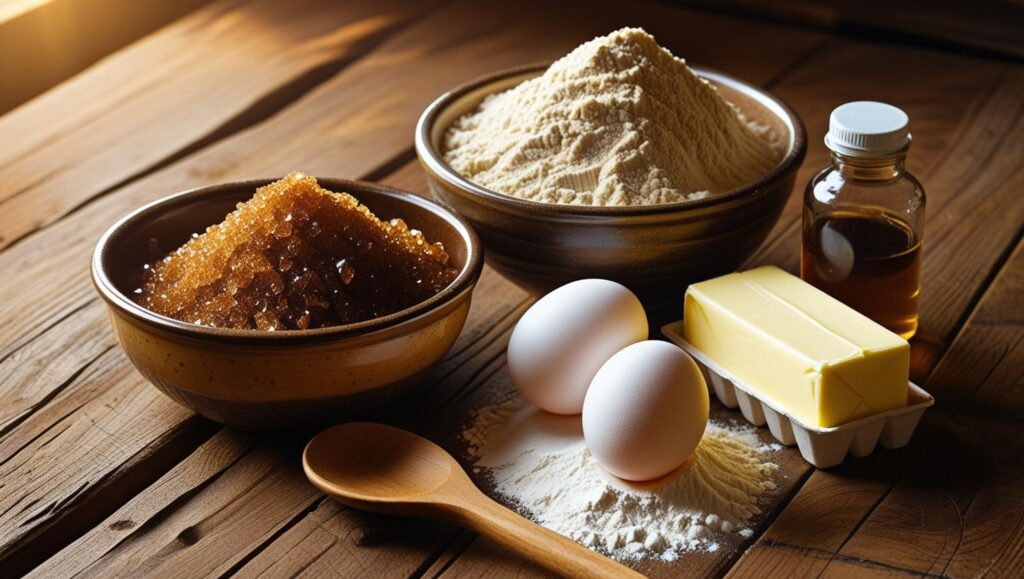
- Flour: All-purpose flour is the foundation here. Make sure you measure it correctly!
- Cornstarch: This is my secret weapon. Just a little bit of cornstarch makes the cookies incredibly soft and tender, and keeps them that way for days.
- Baking Soda: This gives our cookies just the right amount of lift.
- Salt: Salt doesn’t just make things salty; it enhances all the other flavors, especially the sweet caramel notes of the brown sugar.
- Unsalted Butter: We’ll be melting the butter, which is key for that chewy texture. Using unsalted lets us control the salt level perfectly.
- Dark Brown Sugar: This is the star of the show. I prefer dark brown sugar for its higher molasses content, which means more moisture and a richer flavor. Light brown sugar works in a pinch, but the cookies will be a bit less intense.
- Eggs: We’ll use one whole egg plus an extra egg yolk. That extra yolk adds richness and fat, which is another key to a wonderfully chewy cookie.
- Vanilla Extract: Pure vanilla extract rounds out all the flavors.
Essential Tools for the Job
You don’t need a professional kitchen to make these. Here are the basic tools I recommend:
- Mixing Bowls
- Whisk & Rubber Spatula
- Baking Sheets
- Parchment Paper
- A Cookie Scoop (optional, but great for uniform cookies!)
How to Make Perfect Brown Sugar Cookies: Step-by-Step
Alright, let’s get baking! Follow these simple steps, and you’ll have amazing cookies in no time.
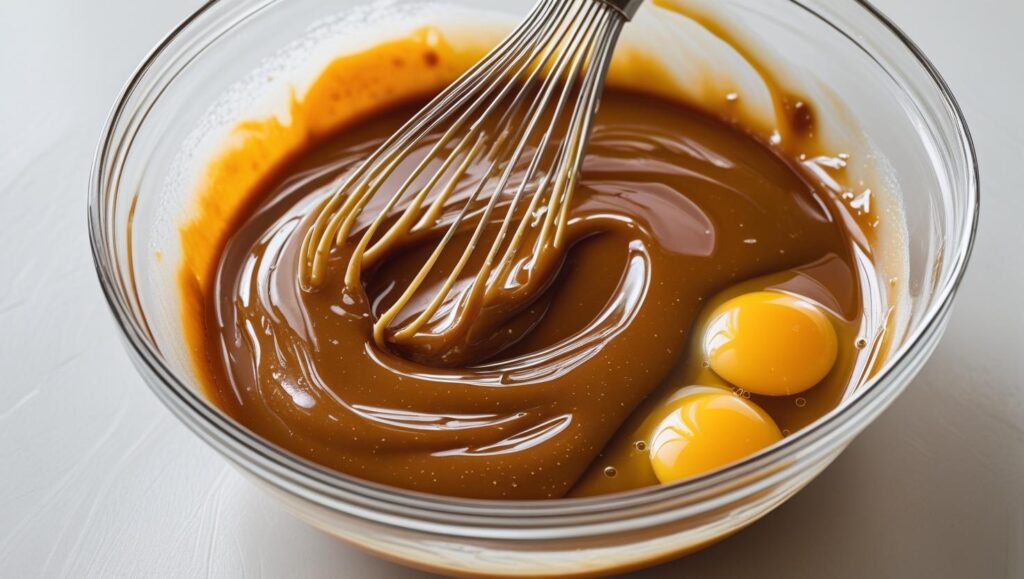
Step 1: Combine Wet Ingredients
First, melt your butter in a saucepan or the microwave. Pour the melted butter into a large mixing bowl. Add the packed dark brown sugar and whisk it all together. The mixture should look like glossy, wet sand.
Now, whisk in the egg, the extra egg yolk, and the vanilla extract until everything is smooth and combined. Don’t over-mix here; just whisk until you no longer see streaks of egg.
Step 2: Whisk the Dry Ingredients
In a separate, medium-sized bowl, whisk together the all-purpose flour, cornstarch, baking soda, and salt. Whisking them together first ensures that the baking soda and salt are evenly distributed, which helps the cookies bake evenly.
Step 3: Mix It All Together
Pour the dry ingredients into the bowl with the wet ingredients. Using a rubber spatula, gently fold everything together. Be careful not to overmix! Stop mixing as soon as you no longer see dry streaks of flour. Overmixing develops the gluten in the flour, which can make your cookies tough instead of tender.
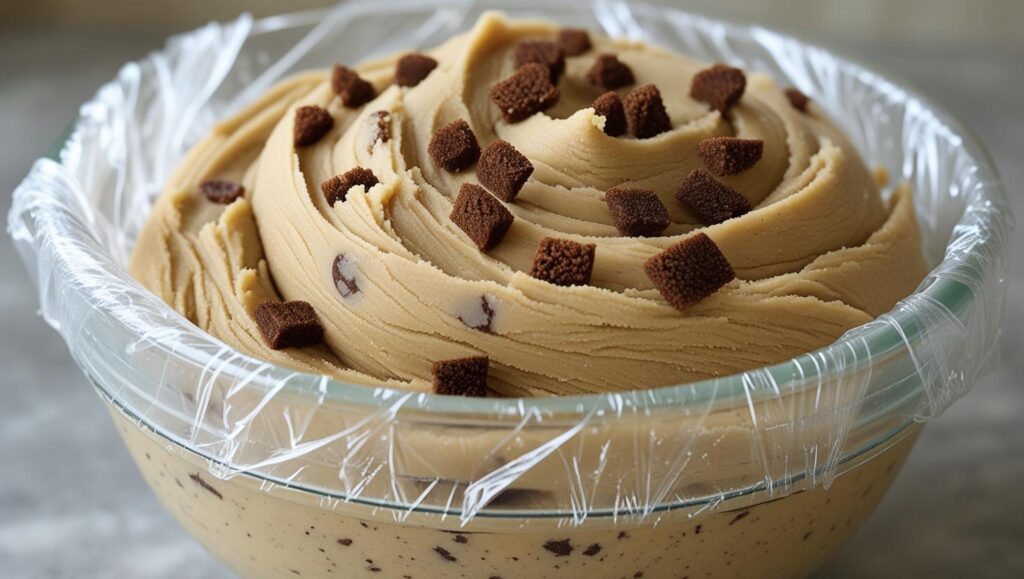
Step 4: The Most Important Step—Chill the Dough!
- I know, I know. You want cookies now. But please, trust me on this: you must chill the dough. Cover the bowl with plastic wrap and chill it in the refrigerator for at least 2 hours, or up to 2 days.
- Chilling the dough does two crucial things. First, it solidifies the fat. Cold fat melts more slowly in the oven, which means your cookies won’t spread into thin, sad pancakes. Second, it allows the flavors to meld and deepen, resulting in a much more delicious cookie.
Step 5: Scoop and Bake
- When you’re ready to bake, preheat your oven to 350°F (175°C) and line two baking sheets with parchment paper.
- Take the chilled dough out of the fridge. It will be firm. Use a cookie scoop or a tablespoon to portion out the dough into balls, about 1.5 tablespoons each. For an extra sparkle and crunch, roll the balls in a little extra granulated or brown sugar before placing them on the baking sheets. Leave about 2 inches between cookies.
- Bake for 10-12 minutes. The edges should be set and lightly golden, but the centers will still look a little soft and underdone. That’s the secret to a chewy center!
Step 6: Cool for the Perfect Texture
Let the cookies cool on the baking sheet for 5 minutes. This allows the centers to finish setting up. After 5 minutes, transfer them to a wire rack to cool completely.
My Top Tips for Bakery-Worthy Results
- Measure Flour Correctly: Don’t scoop the flour directly out of the bag with your measuring cup. This compacts it, and you’ll end up with too much flour. Instead, use a spoon to fluff up the flour, then spoon it into your measuring cup and level it off with a knife.
- For Crinkly Tops: For those beautiful, crinkly tops you see in bakeries, give the baking sheet a firm “bang” on the counter a couple of times right after you pull it from the oven. This gently deflates the cookies, creating lovely ripples.
- The Perfect Shape: If your cookies come out a little misshapen, no worries! While they are still hot on the baking sheet, take a round cookie cutter or the rim of a glass that is slightly larger than the cookie and “scoot” it around the edges to tuck them into a perfect circle.
Your New Go-To Cookie Recipe
Having a reliable, crowd-pleasing cookie recipe in your back pocket is a game-changer. This is that recipe. These Brown Sugar Cookies are perfect for holiday platters, after-school snacks, or just a quiet moment with a cup of coffee. They are simple, honest, and unbelievably good.
I hope you love making—and eating—these as much as my family and I do. Happy baking!
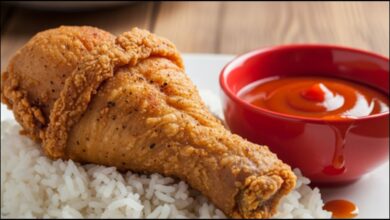 The Ultimate Filipino Fried Chicken Recipe for Crispy, Juicy Perfection
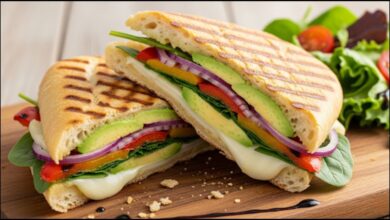 Unlock Flavor: How to Make the Perfect Avocado Veggie Panini Every Time
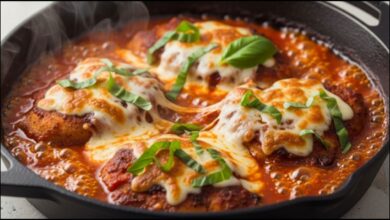 The Easiest Weeknight Chicken Pizzaiola Dish You’ll Ever Make
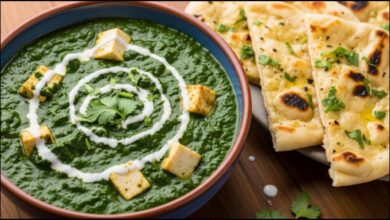 The Secret to a Perfectly Healthy Homemade Palak Paneer