The Ultimate 10 Minute Peanut Butter Fudge: Rich, Creamy, and So Simple
This creamy 10 Minute Peanut Butter Fudge is the perfect solution for last-minute cravings or an unexpected get-together. It’s an easy fudge recipe with just a handful of ingredients, no candy thermometer needed, and a truly delicious result. You’ll be making this simple dessert again and again.
There’s a special kind of panic that sets in when you remember you signed up to bring a dessert to the potluck, and it’s happening in an hour. Or maybe it’s a sudden, undeniable craving for something sweet and rich, and you just don’t have the energy for a complicated baking project. We’ve all been there. My secret weapon for these moments? My foolproof 10 Minute Peanut Butter Fudge. This isn’t your grandma’s fussy fudge that requires a candy thermometer, precise temperatures, and endless stirring. I’m a firm believer that good food doesn’t have to be complicated, and this easy fudge recipe proves it. In just about ten minutes of active time, you’ll have a deliciously creamy, rich, and utterly satisfying no-bake dessert that tastes like it took hours of effort. So let’s get you ready to create a masterpiece you’ll be proud of, with minimal fuss.
Quick Recipe
- Preparation Time: 10M
- Cooking Time: 0M
- Total Time: 10M
- Type of dish: Dessert
- Cuisine: American
- Recipe Yield: 16 servings (1-inch squares)
- Calories: 150 calories per serving (approximate)
Why This Recipe is a Game-Changer
- Speedy: Active prep time is less than 10 minutes—seriously!
- Foolproof: No candy thermometer or tricky techniques needed.
- Crowd-Pleaser: This simple dessert is always a hit with kids and adults alike.
- Versatile: It’s easy to customize with different mix-ins and toppings.
The Magic of 10 Minute Peanut Butter Fudge
This recipe has been in my back pocket for years, and it’s saved me more times than I can count. I first stumbled upon it when I was looking for a quick and simple treat to make for my son’s school bake sale. All the other fudge recipes I found seemed intimidating, with long ingredient lists and complicated instructions. That’s when I discovered the beauty of using just a few simple pantry staples.
The secret to this incredibly fast 10 Minute Peanut Butter Fudge is using sweetened condensed milk as the base. Unlike traditional fudge, which relies on a precise sugar-syrup temperature, sweetened condensed milk already has the perfect balance of sugar and liquid to create a smooth, creamy texture when combined with other ingredients. This eliminates the need for any complex cooking and gives you a luscious, consistent result every time. What I love most is how the texture of this fudge melts in your mouth, a perfect mix of rich peanut butter flavor and a decadent creaminess. It’s so much more than just a quick dessert—it’s a reliable, delicious treat you can turn to whenever you need a little sweetness in your life.
Gathering Your Ingredients
The beauty of this recipe is that you likely already have most of the ingredients in your pantry. We’re keeping things simple and high impact.
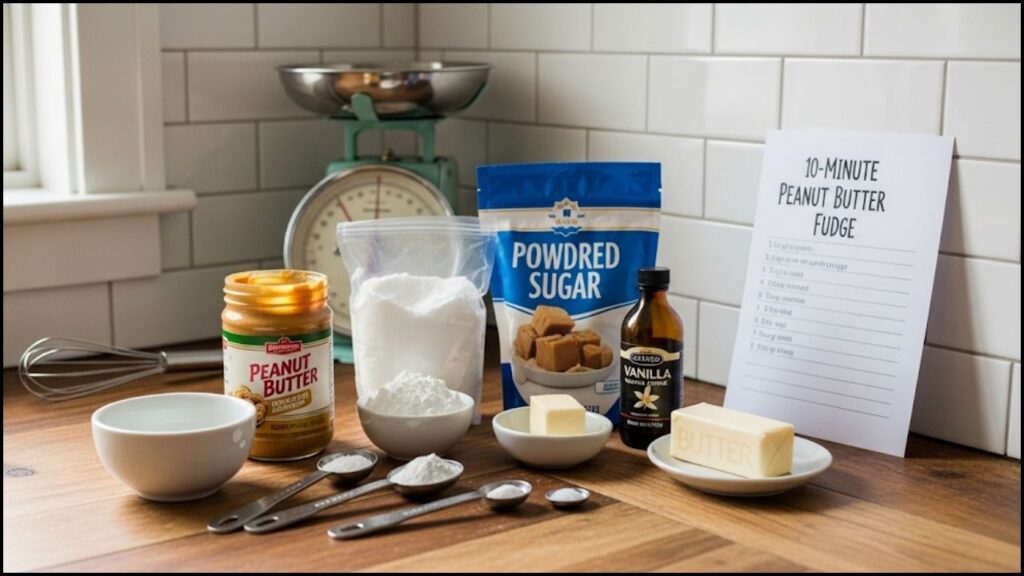
- Peanut Butter: Use a creamy, shelf-stable peanut butter for the best results. Natural peanut butter (the kind that separates) can be tricky here, as the oil can affect the final texture. I’ve found that classics like Jif or Skippy work best and give the smoothest, most reliable result. The peanut butter is where all the flavor comes from, so don’t skimp on a brand you love!
- Sweetened Condensed Milk: This is the star of our show. The pre-thickened, sugary liquid is the glue that holds everything together and gives our fudge its iconic texture. Don’t confuse it with evaporated milk; they are not the same!
- Vanilla Extract: A little bit of vanilla goes a long way. It enhances the sweet, nutty flavor of the peanut butter and adds a lovely depth to the finished fudge.
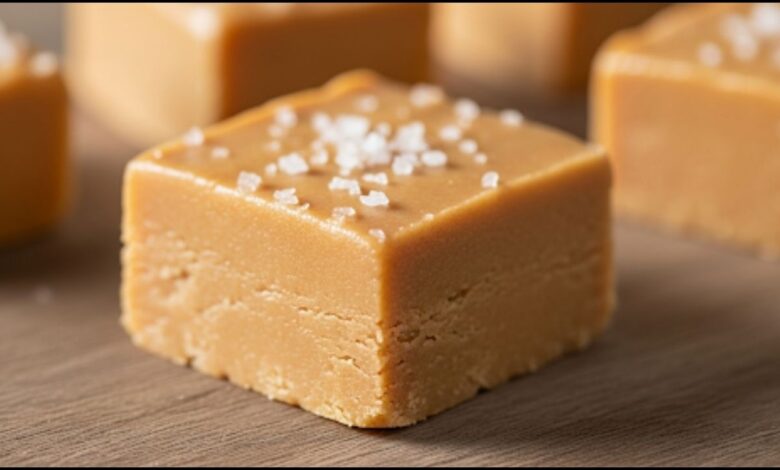
- Optional Mix-ins: This is where you can get creative! Chocolate chips, chopped roasted peanuts, or even a sprinkle of flaky sea salt on top can take your 10 Minute Peanut Butter Fudge to the next level. I love the classic combination of peanut butter and chocolate, so I almost always stir in a cup of semi-sweet chocolate chips at the end.
A Few Essential Tools for Success
You don’t need any fancy equipment to make this easy fudge recipe. In fact, a simple pot and a pan are all you need.
- 8×8-inch baking pan: I find this size is perfect for a nice, thick fudge. You could also use a loaf pan for a taller, more dense fudge.
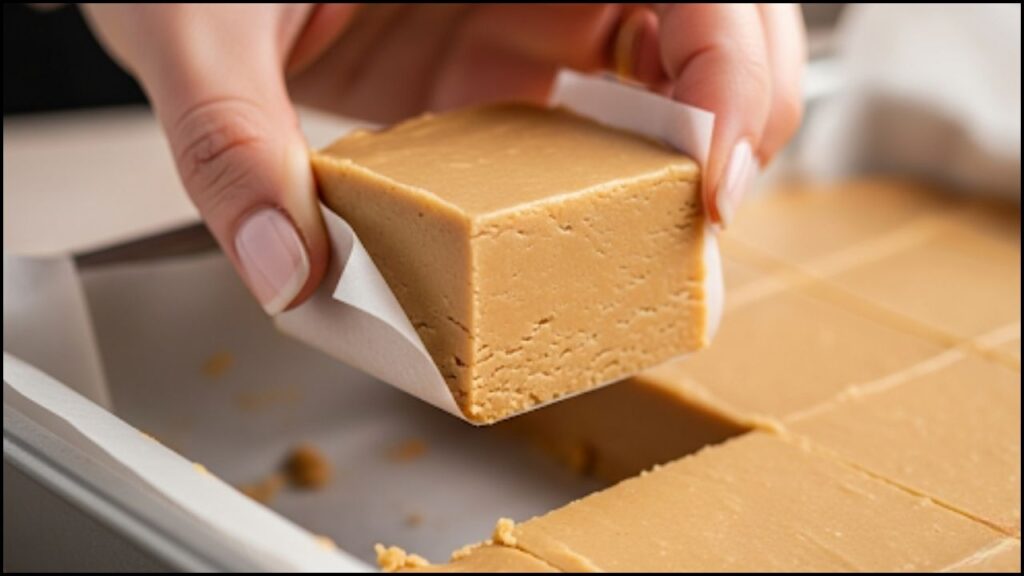
- Parchment paper: This is a non-negotiable step for me. Lining your pan with parchment paper makes the fudge incredibly easy to lift out and cut into clean squares. It’s a little trick that saves you a lot of frustration later on.
- A medium saucepan: For melting and combining the ingredients.
- Silicone spatula or spoon: For stirring and scraping the pan. A silicone spatula is great because it won’t scratch your saucepan and is easy to clean.
Step-by-Step: Making Your 10 Minute Peanut Butter Fudge
The Prep Work (It’s Quick!)
- Prep Your Pan: Start by lining your 8×8-inch pan with parchment paper, leaving a little overhang on two sides to create “handles.” This makes it so easy to lift the entire block of fudge out of the pan once it’s set. Trust me, you’ll thank yourself for this later!
The Melt-and-Mix Method
- Combine the Stars: In a medium saucepan, combine your peanut butter and sweetened condensed milk over low-to-medium heat. The key here is to keep the heat low and steady. We’re not trying to cook the mixture, just gently melt and combine the ingredients until they are smooth and fully incorporated. This should only take about 5 to 7 minutes. Use your spatula to stir constantly to prevent scorching.
- Finish the Flavor: Once the mixture is smooth, remove the pan from the heat. Stir in the vanilla extract and any optional mix-ins, like chocolate chips or chopped peanuts. Stir until everything is evenly distributed.
The Finishing Touches
- Pour and Set: Pour the fudge mixture into your prepared pan. Use your spatula to spread it into an even layer. If you like, sprinkle a little flaky sea salt on top for a beautiful finish and a pop of flavor. Let the fudge cool to room temperature on your counter.
- Let It Chill: This is the hardest part—the waiting! Once it’s cooled slightly, transfer the pan to the refrigerator. Let it chill for at least 2 hours, or until it’s firm. Don’t rush this step; the chilling is what makes the fudge set into those perfect, sliceable squares.
- Cut and Serve: Once the fudge is firm, use the parchment paper handles to lift it out of the pan. Place it on a cutting board and cut it into small, bite-sized squares. Since this fudge is so rich, I usually cut my pieces about 1×1 inch.
A Final Bite
There you have it’s a stunningly delicious, perfectly creamy, and completely stress-free 10 Minute Peanut Butter Fudge recipe that you can whip up in a flash. It’s the kind of recipe that will earn you a reputation for being a great baker, even though you barely had to turn on your stove. Having this easy fudge recipe in your repertoire is like having a little bit of magic on hand. It proves that you don’t need a lot of time or special skills to create something truly delicious and memorable. So go ahead, embrace your inner fudge-maker, and get ready to enjoy the sweetest, creamiest rewards.


