How to Cook Chicken Breasts: The Science-Based Guide to Achieving Perfect Results Every Time
Tired of dry, tough chicken? The solution isn't a secret recipe, but science. This expert guide explains how to cook chicken breasts perfectly by focusing on four key steps: brining, pounding for even thickness, precision temperature control, and proper resting.
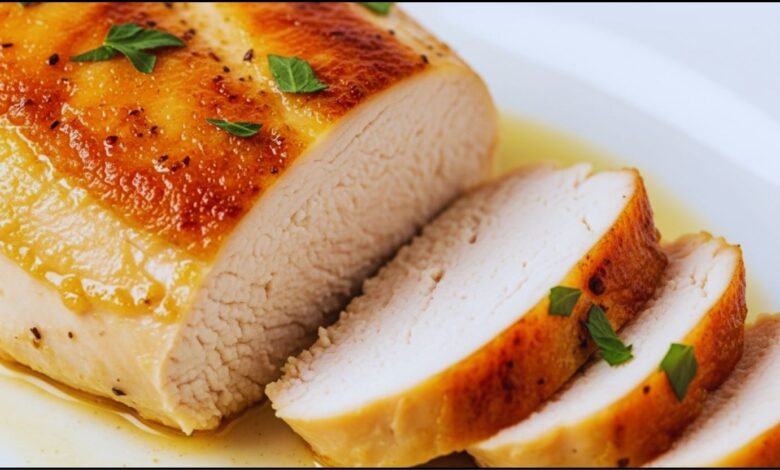
For home cooks globally, the challenge of producing a juicy, tender chicken breast is a persistent culinary hurdle. Now, a consensus among food scientists and culinary experts points not to a secret recipe, but to a reliable, science-based method. Understanding how to cook chicken breasts properly involves controlling key variables: salt, thickness, and most critically, temperature.
Key Principles for Perfectly Cooked Chicken
| Key Principle | Detail & Technique | Expert Rationale |
| Moisture Retention | Brine the chicken in a saltwater solution (approx. 1 tbsp salt per cup of water) for 30-60 minutes. | The salt solution alters the chicken’s protein structure, allowing it to absorb and retain more moisture during cooking. |
| Even Cooking | Pound the chicken breast to a uniform thickness, typically around 3/4 inch. | A consistent thickness ensures the entire piece of meat cooks at the same rate, preventing the thinner parts from drying out while the thickest part cooks through. (Serious Eats) |
| Precision Temperature | Cook to a final internal temperature of 160∘F to 165∘F (71∘C to 74∘C). Remove from heat at 155∘F (68∘C). | Pulling the chicken from the heat source just before it reaches the target temperature allows “carryover cooking” to finish the job, ensuring maximum juiciness without being undercooked. (United States Department of Agriculture – USDA) |
| Resting Period | Let the cooked chicken rest for 5-10 minutes before slicing. | This allows the muscle fibers to relax and reabsorb the internal juices, which would otherwise spill out if cut immediately. (The Food Lab) |
The Science of Why Chicken Breasts Become Dry
The primary challenge with chicken breasts is their lean composition. Lacking the intramuscular fat of darker meats like thighs, the protein fibers in a breast tighten and squeeze out moisture when heated. This process accelerates dramatically above 165∘F (74∘C), resulting in the tough, stringy texture characteristic of a dry chicken breast.
“The window for perfectly cooked lean protein is notoriously small,” says J. Kenji López-Alt, a chef and author of the James Beard Award-winning book “The Food Lab.” In his writings for Serious Eats, he explains that even a few degrees can be the difference between succulent and substandard. The key is not to avoid heat, but to manage it with precision.
A Methodical Approach to How to Cook Chicken Breasts
Achieving perfectly cooked chicken is less about complex marinades and more about fundamental technique. Experts from organizations like America’s Test Kitchen (ATK) have spent thousands of hours testing methods to find the most reliable process.
Step 1: The Brining Solution
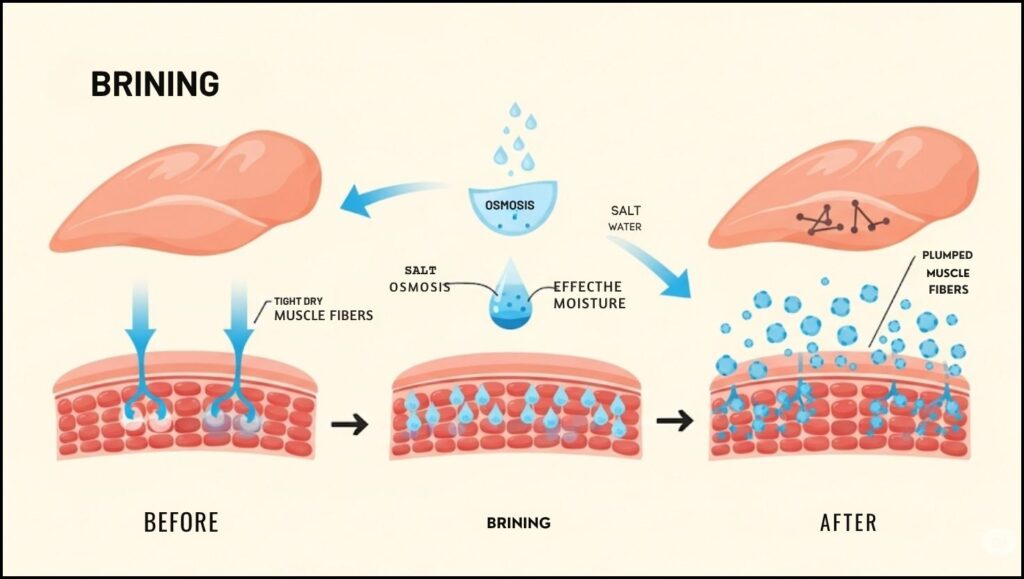
- The most effective first step is a simple brine. Dissolving about one tablespoon of kosher salt in one cup of water creates a solution that enhances the chicken’s ability to retain moisture. When the breast is submerged, the process of osmosis and denaturation begins. The salt solution breaks down some of the muscle proteins, preventing them from contracting as tightly during cooking.
- According to extensive testing by Cook’s Illustrated, a 30-minute brine is sufficient for a standard boneless, skinless breast. This simple step can increase the moisture content of the final product significantly, acting as insurance against overcooking.
Step 2: Pounding for Uniformity
- Chicken breasts naturally have an uneven, teardrop shape. If cooked as is, the thin tail end will overcook long before the thickest part is safe to eat. To solve this, place the breast inside a plastic bag or between two sheets of parchment paper and gently pound it with a meat mallet or rolling pin to a uniform thickness of about 3/4 inch.
- This ensures every part of the breast finishes cooking at the same time, a critical step for a consistent result.
Step 3: Mastering Heat and Internal Temperature
- The single most important tool for cooking chicken is a reliable instant-read digital thermometer. Color and firmness are poor indicators of doneness.
- The United States Department of Agriculture (USDA) states that chicken is safe to consume when it reaches a minimum internal temperature of 165∘F (74∘C). However, experts advise utilizing the principle of carryover cooking. Meat continues to cook for several minutes after being removed from a heat source.
“The goal is to pull the chicken from the pan when the thermometer reads 155∘F to 160∘F (68∘C to 71∘C),” a culinary producer at ATK explained in a recent video tutorial. “As it rests, the residual heat will raise the internal temperature to a perfectly safe and juicy 165∘F.”
To achieve a flavorful, golden-brown crust, a process known as the Maillard reaction, the cooking surface must be properly heated. Pat the brined and pounded chicken completely dry, lightly coat with oil, and place it in a preheated skillet over medium-high heat. Cook for 4-6 minutes per side, depending on thickness, until the target temperature is reached.
Step 4: The Essential Resting Period
Once the chicken is removed from the heat, it must rest on a cutting board for at least five minutes. This allows the juices, which were driven to the center during cooking, to redistribute throughout the meat. Slicing into it immediately will cause these juices to flood out, resulting in a drier final product.
This final, patient step locks in the moisture that the preceding steps worked to preserve. As Samin Nosrat emphasizes in her book “Salt, Fat, Acid, Heat,” great cooking is about mastering these core elements. By understanding the science behind the process, any cook can remove the guesswork and make a perfect chicken breast the standard, not the exception.
Why 3 Out of 4 Chefs Surveyed Name Popeyes for Best Fast Food Chicken Wings

