The Magic Behind These Maple Vanilla Almond Clusters
Discover how to make the absolute best Maple Vanilla Almond Clusters with this simple, step-by-step recipe. My secret ingredient guarantees perfectly crunchy, satisfying clusters every time, creating a healthy snack you'll make again and again.
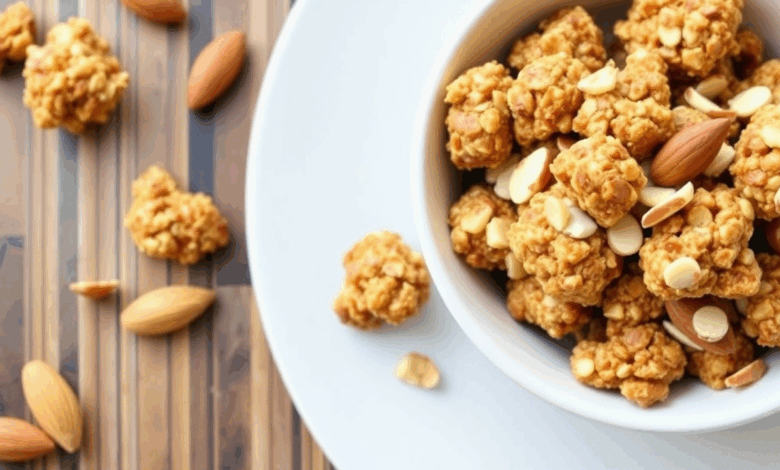
I’ve made these clusters countless times, and I’ve learned that the magic lies in the simplicity and quality of the ingredients. There are no strange preservatives or artificial flavors here—just pure, delicious goodness.
Quick Recipe
- Preparation Time: 10M
- Cooking Time: 25M
- Total Time: 35M
- Type of dish: Snack
- Cuisine: American
- Recipe Yield: Approximately 3 cups
- Calories: 165 calories per 1/4 cup serving (approximate)
The Key Ingredients
- Raw Almonds: We use raw, unsalted almonds as our base. This allows us to control the saltiness and toast them to perfection. I prefer whole almonds for a heartier crunch, but slivered or sliced almonds work wonderfully too, creating a more delicate texture.
- Pure Maple Syrup: This is non-negotiable! Please don’t use pancake syrup, which is mostly corn syrup. Real maple syrup provides a rich, complex sweetness that is the star of the show. The grade doesn’t matter too much, so use whatever you have on hand.
- The Secret Weapon (An Egg White): Here it is—the key to truly crispy clusters that don’t fall apart. A lightly whisked egg white acts as a binder, creating a light, meringue-like coating that crisps up beautifully in the oven. It’s a technique used in professional kitchens, and it works wonders for these easy almond clusters.
- Melted Coconut Oil (or other neutral oil): Just a tablespoon helps the almonds toast evenly and adds to the satisfying crunch. You can also use avocado oil or even light olive oil.
- Pure Vanilla Extract & Cinnamon: These are our flavor enhancers. Vanilla adds a beautiful aromatic depth, while a hint of cinnamon brings a gentle warmth that complements the maple perfectly.
- A Pinch of Salt: Salt doesn’t just make things salty; it makes sweet things taste sweeter! It balances the flavors and makes the other ingredients pop.
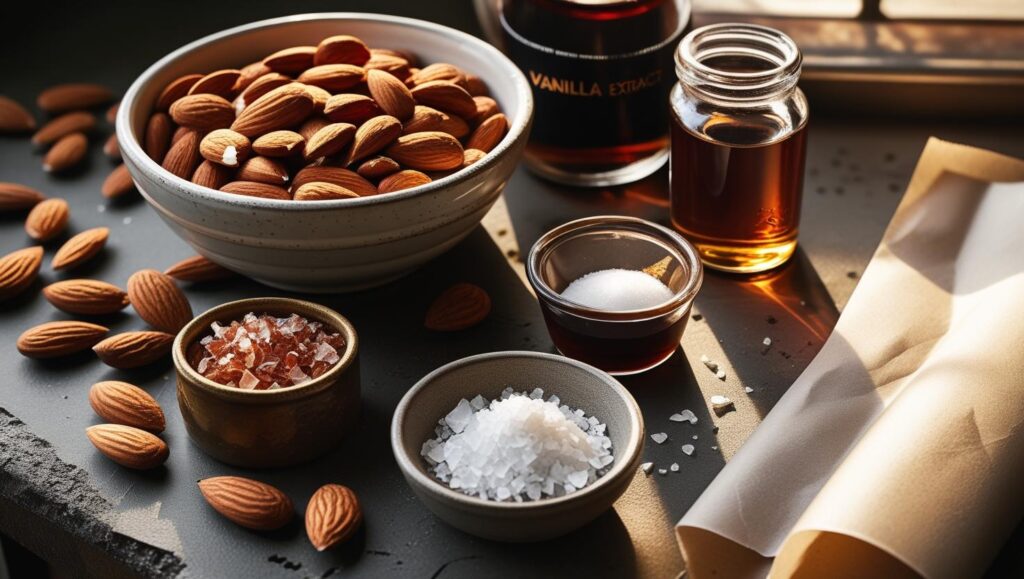
Essential Tools for a Flawless Batch
You don’t need any fancy equipment for this recipe, which is part of its charm. Here’s what I recommend having ready:
- A large mixing bowl
- A whisk and a spatula
- A large, rimmed baking sheet
- Parchment paper (this is essential for easy cleanup!)
How to Make Perfect Maple Vanilla Almond Clusters
This is where the fun begins. We’ll go step-by-step, and I’ll explain the why behind each action to ensure you get perfect results.
Step 1: Prep Your Oven and Pan
- First things first, preheat your oven to 325°F (160°C). This lower temperature is important because maple syrup can burn easily. A slow and steady bake is key to getting that beautiful golden-brown color without any bitterness.
- Next, line your baking sheet with parchment paper. Trust me on this one. The maple syrup glaze will become very sticky, and the parchment paper ensures your beautiful clusters lift right off the pan without a fight.
Step 2: Create the Flavorful Glaze
- In your large mixing bowl, add the single egg white. Whisk it vigorously for about 30 seconds, or until it’s frothy and bubbly. This step aerates the egg white, which is what helps create that light, crispy coating we talked about.
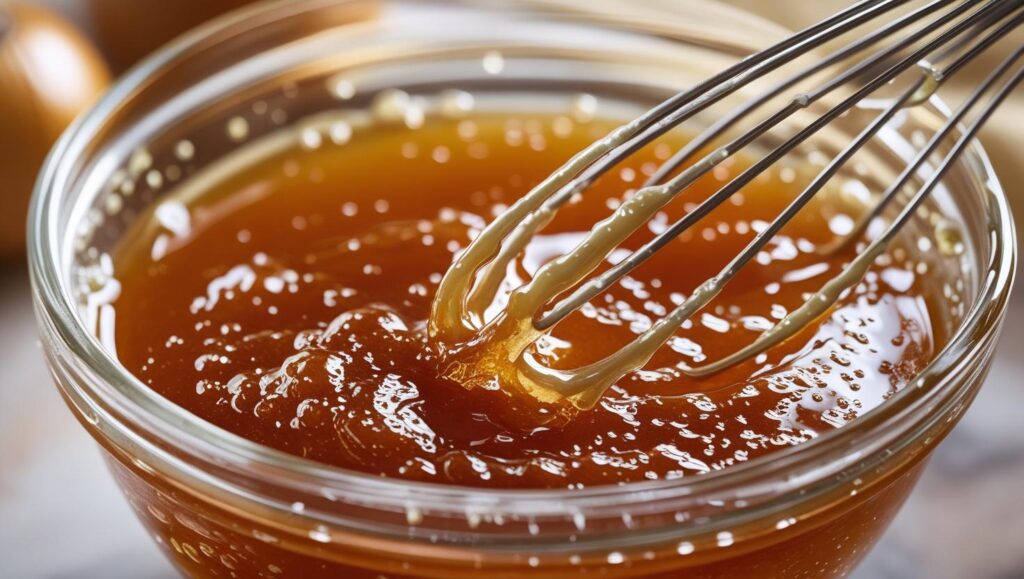
- Now, whisk in your maple syrup, melted coconut oil, vanilla extract, cinnamon, and salt. Keep whisking until everything is smooth and well combined. Your kitchen should already be starting to smell amazing!
Step 3: Combine and Cluster
- Pour your raw almonds into the bowl with the glaze. Use a spatula to gently fold and stir until every single almond is evenly coated. Take your time here; we want all the nuts to get their share of that delicious glaze.
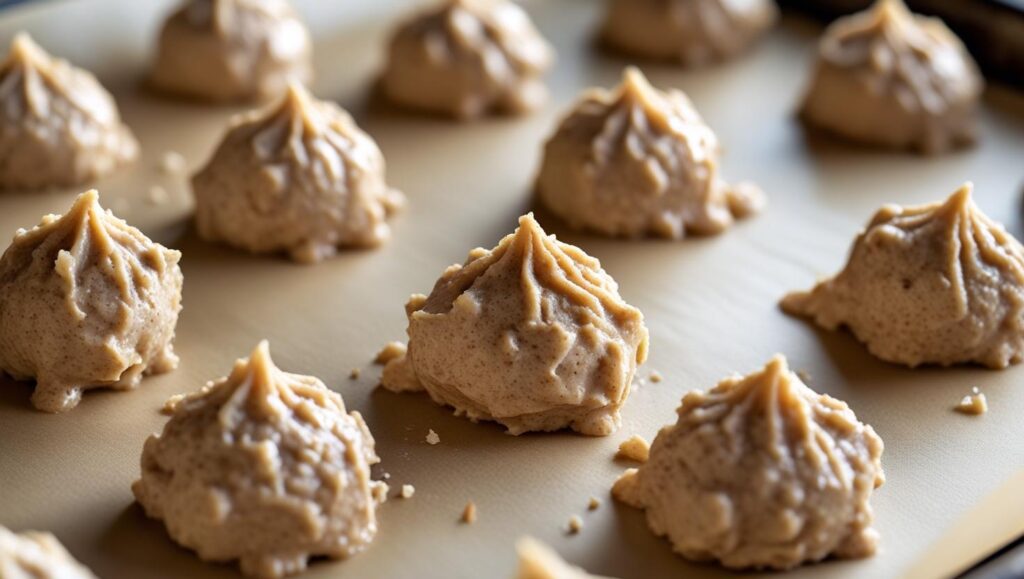
- Now, spoon the coated almonds onto your prepared baking sheet. Here’s another important tip: Don’t spread them into a single, flat layer. Instead, use your spoon to create small mounds or “clusters” of almonds, leaving a little space between them. This is how we make actual clusters instead of almond brittle. These little hills are what will bake into our homemade granola clusters.
Step 4: Bake, Stir, and Cool
- Slide the baking sheet into your preheated oven and bake for 20-25 minutes. About halfway through the baking time (around the 12-minute mark), gently stir the almonds. This helps them cook evenly on all sides.
- The clusters are done when they are a deep golden brown and the glaze is bubbly. They will still feel slightly soft and sticky when you take them out of the oven. This is normal! The real crisping happens as they cool.
- Let the clusters cool completely on the baking sheet for at least 30 minutes. I know it’s tempting to sneak a taste, but this cooling step is the final, crucial part of the process. It allows the maple glaze to harden into a crunchy, candy-like shell.
My Pro Tips for the Best Clusters Every Time
- Don’t Skip the Egg White: I can’t stress this enough. It’s the difference between loose nuts and true, crunchy clusters.
- Embrace the Low-and-Slow Bake: Rushing the process with a hotter oven will likely burn the syrup before the nuts are properly toasted. Patience is a virtue here.
- Let Them Cool Completely: I said it before, and I’ll say it again. For maximum crunch, do not touch them until they are at room temperature. Transfer the baking sheet to a wire rack to speed up the cooling process.
Fun Variations to Try
Once you’ve mastered the basic recipe, feel free to get creative!
- Different Nuts & Seeds: Try this with pecans, walnuts, or even a mix! Adding a quarter cup of pumpkin or sunflower seeds is also delicious.
- Spice It Up: Add a pinch of cardamom, nutmeg, or even a tiny dash of cayenne pepper for a sweet and spicy kick.
- Add Dried Fruit: After the clusters have cooled completely, toss in some dried cranberries, cherries, or chopped apricots for extra texture and flavor.
A Snack You Can Be Proud Of
Having a jar of these Maple Vanilla Almond Clusters on my counter makes me feel like I have my life together, even on the most chaotic days. They are proof that a delicious, satisfying, and healthy snack recipe can be incredibly simple to make from scratch.
I hope you love making—and eating—these as much as my family and I do. Happy baking!

