The Ultimate Fresh Blueberry Tart Recipe for a Stunning Dessert
Create a stunning, bakery-worthy dessert at home with this ultimate fresh blueberry tart recipe. A crisp, buttery crust and a vibrant, sweet filling make this the perfect way to celebrate fresh summer berries. Simple steps guarantee delicious success!
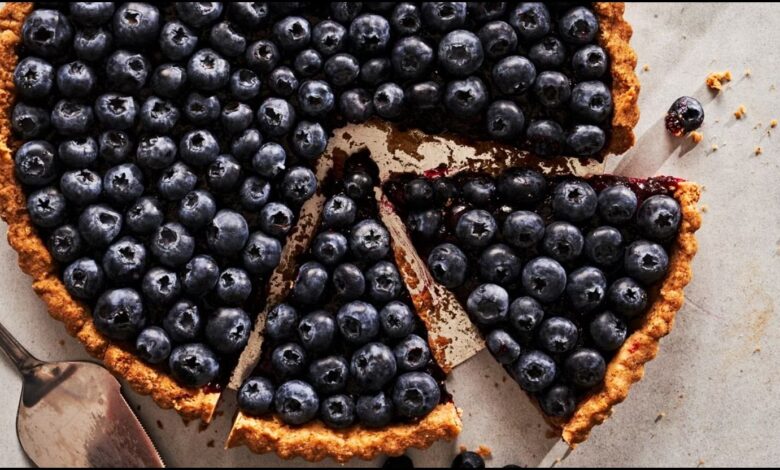
There’s a moment every summer when the farmers’ market is overflowing with cartons of plump, dusky-blue blueberries. I can never resist buying at least one more than I think I’ll need. That’s when I know it’s time to make my favorite dessert: this incredible fresh blueberry tart. It’s a recipe I’ve perfected over the years, one that combines a crisp, buttery crust with a sweet, bursting-with-flavor blueberry filling. It looks like it came from a fancy French patisserie, but I promise you, it’s surprisingly simple to make right in your own kitchen. This is the kind of dessert that makes memories. So, let’s roll up our sleeves and create something truly special together.
Quick Recipe
- Preparation Time:
3H55M - Cooking Time:
30M - Total Time:
4H25M - Type of dish: Dessert
- Cuisine: French
- Recipe Yield: 6 individual tarts
- Calories: 515 kcal
Why This Recipe Works
| Key Takeaway | Description |
| A “No-Soggy-Bottom” Crust | We use a special technique called “blind baking” to ensure your tart shell is perfectly crisp and golden, ready to hold that luscious filling. |
| Incredibly Fresh Flavor | This recipe celebrates the blueberries! We use them fresh, with just enough sugar and lemon to make their natural sweetness shine. |
| Perfect for Any Skill Level | The steps are broken down into simple, manageable stages. I’ll guide you through each one, so you’ll feel like a pro. |
| Make-Ahead Friendly | You can prepare the tart shell a day or two in advance, making dessert time a breeze when you have guests. |
What You’ll Need: The Building Blocks of a Perfect Tart
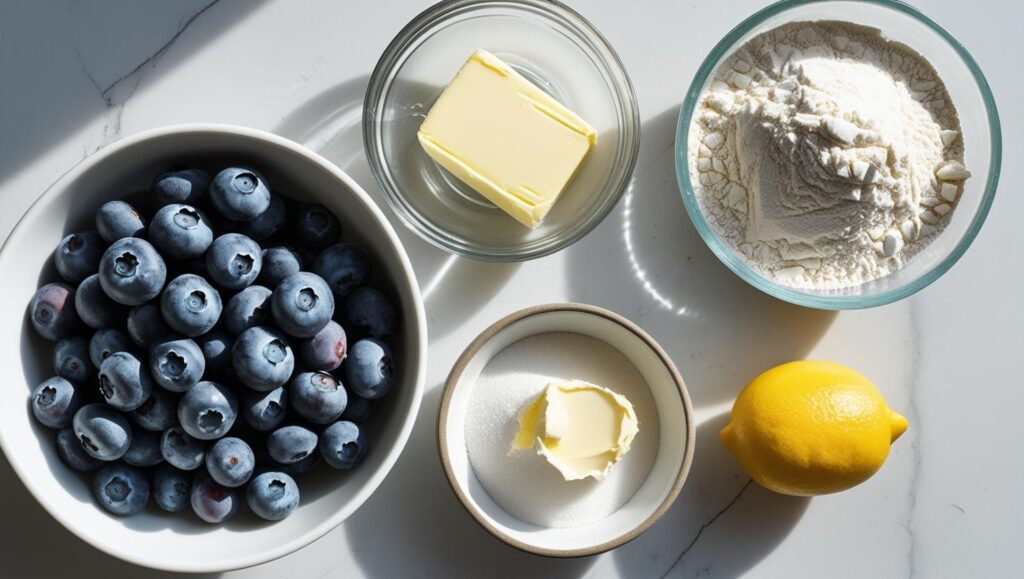
A great tart starts with great ingredients. There’s nothing complicated here, just simple, quality items that come together beautifully.
For the Sweet Tart Crust (Pâte Sablée)
I love this crust. It’s like a rich, buttery shortbread cookie that just melts in your mouth. The secret is using cold butter and not overworking the dough.
- All-Purpose Flour: The foundation of our crust.
- Powdered Sugar: It dissolves easily, creating a finer, more tender crumb than granulated sugar.
- Salt: A pinch is essential to balance the sweetness and bring out the butter’s flavor.
- Cold Unsalted Butter: This is non-negotiable! Cold butter creates little pockets of steam as it bakes, which is the secret to a flaky, tender sweet tart dough.
- One Large Egg Yolk: This adds richness and helps bind the dough together.
- A Splash of Ice Water: We use just a teaspoon or two to bring the dough together if needed.
For the Vibrant Blueberry Filling
This is where the magic happens. This blueberry tart filling is all about letting the fruit be the star.
- Fresh Blueberries: Look for berries that are plump, firm, and have a deep blue color with a silvery-white bloom.
- Granulated Sugar: Just enough to sweeten the berries. You can adjust this slightly depending on how sweet your berries are.
- Cornstarch: This is our thickener. It ensures the filling sets up nicely and isn’t runny.
- Fresh Lemon Juice & Zest: This is the secret ingredient! The acidity brightens the flavor of the blueberries and makes the whole tart taste fresh and vibrant.
- A Pinch of Cinnamon (Optional): I sometimes add a tiny pinch of cinnamon for a little warmth. It’s delicious but not necessary.
Let’s Get Baking: Your Step-by-Step Guide
I’ve broken this down into two main parts: making the crust and then preparing that glorious filling. Don’t rush the process; enjoy it!
Part 1: Mastering the Buttery Tart Shell
A good tart shell is the foundation of our fresh blueberry tart. Taking the time to do this right is so worth it.
Step 1: Mix the Dough
- In a food processor, pulse the flour, powdered sugar, and salt just to combine. Scatter the cold, cubed butter over the top. Pulse about 10-12 times, until the butter is the size of small peas. Don’t overdo it! This is what keeps the crust tender.
- Add the egg yolk and pulse again until the dough starts to clump together. If it seems a little dry, add a teaspoon of ice water at a time until it holds together when you squeeze it.
Step 2: Chill the Dough (The Most Important Step!)
Turn the dough out onto a piece of plastic wrap and gently form it into a flat disk. Wrap it tightly and let it chill in the refrigerator for at least an hour. You can even make it a day or two ahead! Chilling the dough solidifies the butter and lets the flour hydrate, which prevents the crust from shrinking when you bake it. This is a simple trick that makes a huge difference.
Step 3: Roll and Shape
- Once chilled, let the dough sit at room temperature for about 5-10 minutes, just so it’s a little easier to roll. On a lightly floured surface, roll it out into a circle that’s about 12 inches in diameter and 1/8-inch thick.
- Carefully transfer the dough to a 9-inch tart pan with a removable bottom. Gently press it into the bottom and up the sides. Don’t stretch it! Trim any excess dough from the top. Use a fork to gently prick the bottom of the crust a few times. This allows steam to escape so the bottom doesn’t puff up.
Step 4: Blind Bake the Crust
- Freeze the tart shell for another 30 minutes. This final chill is another insurance policy against shrinking.
- Preheat your oven to 375°F (190°C). Line the frozen tart shell with parchment paper and fill it with pie weights or dried beans. This is called “blind baking,” and it’s how we get that perfectly crisp sweet tart dough. Bake for 20 minutes.
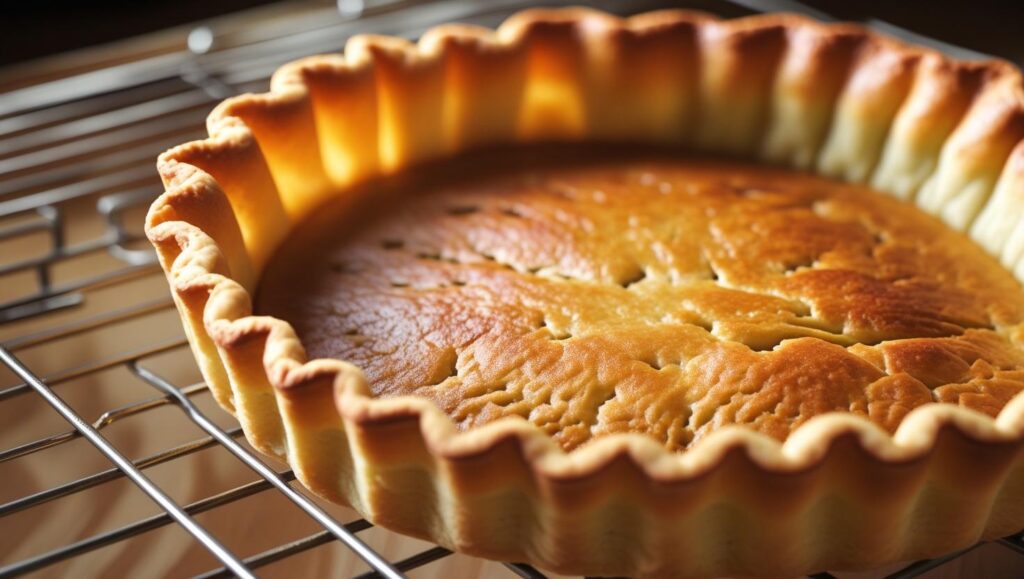
- Carefully remove the parchment and weights. The crust will look pale. Bake for another 5-10 minutes, or until it’s a beautiful light golden brown. Let it cool completely on a wire rack before you add the filling.
Part 2: The Luscious Fresh Blueberry Filling
While your crust is cooling, you can whip up this simple, delicious filling.
Step 1: Prepare the Berries
In a medium saucepan, combine about half of your fresh blueberries with the sugar, cornstarch, lemon juice, and lemon zest.
Step 2: Cook the Filling
Cook over medium heat, stirring gently, until the sugar dissolves and the berries start to burst, releasing their juices. The mixture will begin to thicken. This should take about 5-8 minutes. The reason we only cook half the berries is to create a lovely jammy base, while still keeping lots of whole berries for texture.
Step 3: Combine and Cool
Remove the saucepan from the heat and gently fold in the remaining fresh blueberries. This gives you the best of both worlds: a rich, cooked filling and the fresh pop of whole berries. Let the mixture cool for at least 20-30 minutes. You don’t want to pour a hot filling into your beautiful crust.
Assembling Your Masterpiece
- Once the tart shell and the blueberry tart filling are both cool, gently pour the filling into the shell and spread it out evenly.
- You can serve it right away, but I think it’s even better if you let it chill in the refrigerator for at least an hour. This helps the filling set completely, making for beautiful, clean slices.
- For a final touch, you can dust the edges with a little powdered sugar or top it with some fresh lemon zest before serving.
A Sweet Addition to Your Recipe Box
There is something so satisfying about placing a beautiful, homemade dessert on the table. This fresh blueberry tart recipe is one of those special treats that’s perfect for a summer celebration, a quiet afternoon with a cup of tea, or anytime you want to make the most of berry season. I hope you love it as much as my family and I do. Happy baking!


