The Ultimate Marshmallow Monster Cookies Recipe
Get ready to bake the ultimate crowd-pleaser! This recipe guides you through creating perfectly chewy, gooey Marshmallow Monster Cookies loaded with oats, peanut butter, and chocolate. Learn the secrets to getting those picture-perfect toasted marshmallows in every bite.
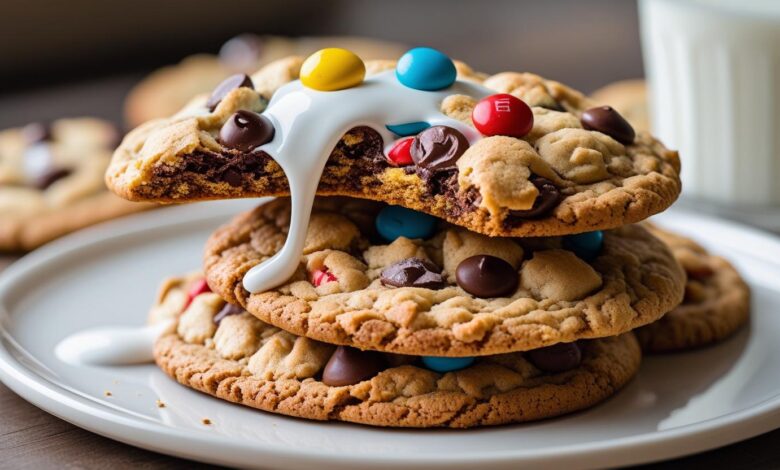
Have you ever stood in your kitchen, craving a cookie that has it all? I’m talking about a cookie that’s chewy, a little bit crispy, packed with peanut butter, oats, and chocolate, but also has that delightful, gooey surprise of a perfectly toasted marshmallow. For years, I was on a quest for that perfect cookie. My kids love monster cookies, and I love anything with a s’mores vibe, so I decided to create the ultimate mashup.
After many batches—some with disappearing marshmallows, others that spread into a single pan-sized cookie—I finally landed on this recipe. These Marshmallow Monster Cookies are the real deal. They’re big, bold, and absolutely bursting with flavor and texture. The secret, which I’m so excited to share with you, ensures you get pockets of melted marshmallow inside and beautiful, toasted marshmallows on top.
This recipe is more than just a list of ingredients; it’s a roadmap to baking a batch of cookies that will make you a legend among your family and friends. So, grab your apron, and let’s get baking!
Quick Recipe Facts
- Preparation Time: 45M (This includes 30 minutes of chilling time for the dough)
- Cooking Time: 13M
- Total Time: 58M
- Type of dish: Dessert
- Cuisine: American
- Recipe Yield: 24 cookies
- Calories: 220 kcal
Why This Recipe Works
| Key Takeaway | Why It’s Great |
|---|---|
| Perfectly Toasted Marshmallows | My special technique of adding marshmallows at the end of the bake prevents them from melting away, giving you a beautiful, gooey topping. |
| Ultimate Chewy Texture | A mix of old-fashioned and quick-cooking oats, plus creamy peanut butter, creates a fantastically chewy monster cookie that stays soft for days. |
| Flavor-Packed & Customizable | The classic oatmeal peanut butter cookie base is loaded with both chocolate chips and M&Ms for the perfect sweet and salty bite. |
| Reliable & Easy to Follow | I’ve broken down every step and explained the “why” behind it, so you can bake with total confidence, even if you’re a beginner. |
Everything You Need for Marshmallow Monster Cookies
Think of this as your pre-baking checklist. Getting everything in order first is a classic baker’s trick called “mise en place,” and it makes the whole process smoother and more enjoyable.
Essential Tools
You don’t need much fancy equipment for these homemade monster cookies. Here’s what I recommend having on hand:
- Baking Sheets (at least two)
- Parchment Paper or a Silicone Baking Mat
- Stand Mixer with a Paddle Attachment (or a Hand Mixer and a large bowl)
- A Medium Bowl for dry ingredients
- Measuring Cups and Spoons
- A Cookie Scoop (a 2-tablespoon size is perfect)
Ingredients: The Building Blocks of Flavor
The magic of these cookies comes from the combination of simple, high-quality ingredients. For the best results, try to have your butter and eggs at room temperature before you begin.
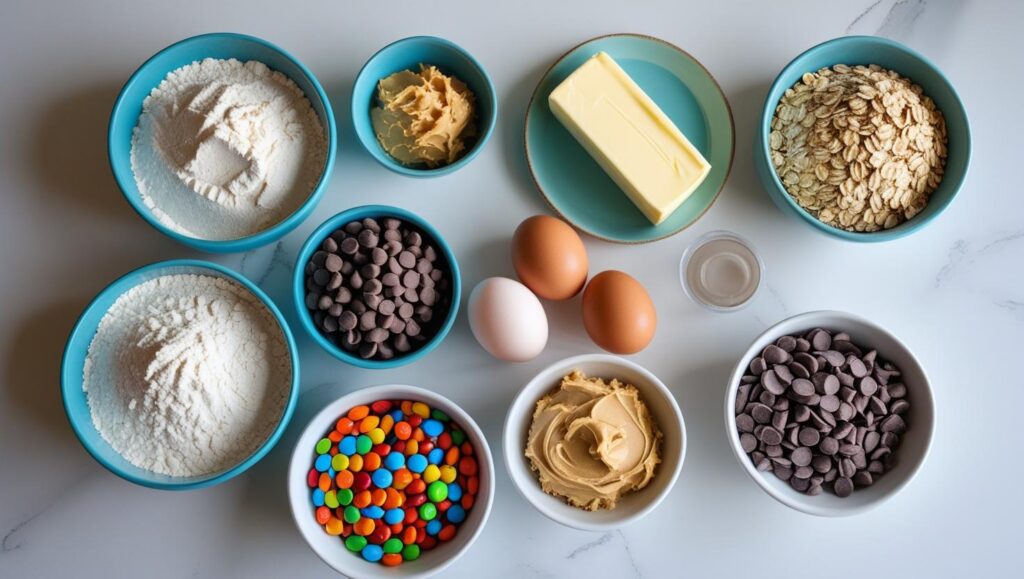
For the Cookie Dough:
- 1/2 cup (63g) All-Purpose Flour: Just a little to provide structure.
- 1 cup (90g) Old-Fashioned Rolled Oats: These give the cookies their signature hearty, chewy texture.
- 1 cup (85g) Quick-Cooking Oats: These smaller oats help bind the cookie and make it more tender.
- 1/2 teaspoon Baking Soda: This is our leavening agent, giving the cookies a little lift.
- 1/4 teaspoon Salt: Crucial for balancing all the sweetness.
- 1/2 cup (113g) Unsalted Butter, softened to room temperature: Using softened butter is key to getting a creamy, uniform dough.
- 1/2 cup (110g) Packed Light Brown Sugar: Provides moisture and a deep, caramel-like flavor.
- 1/4 cup (50g) Granulated Sugar: Adds sweetness and helps the edges get slightly crisp.
- 3/4 cup (190g) Creamy Peanut Butter: Use a classic commercial brand like Jif or Skippy. Natural peanut butters that separate can make the cookies dry and crumbly.
- 1 Large Egg, at room temperature: Acts as a binder. Room temperature eggs mix more evenly into the batter.
- 1 teaspoon Vanilla Extract: Pure vanilla extract adds a wonderful background flavor.
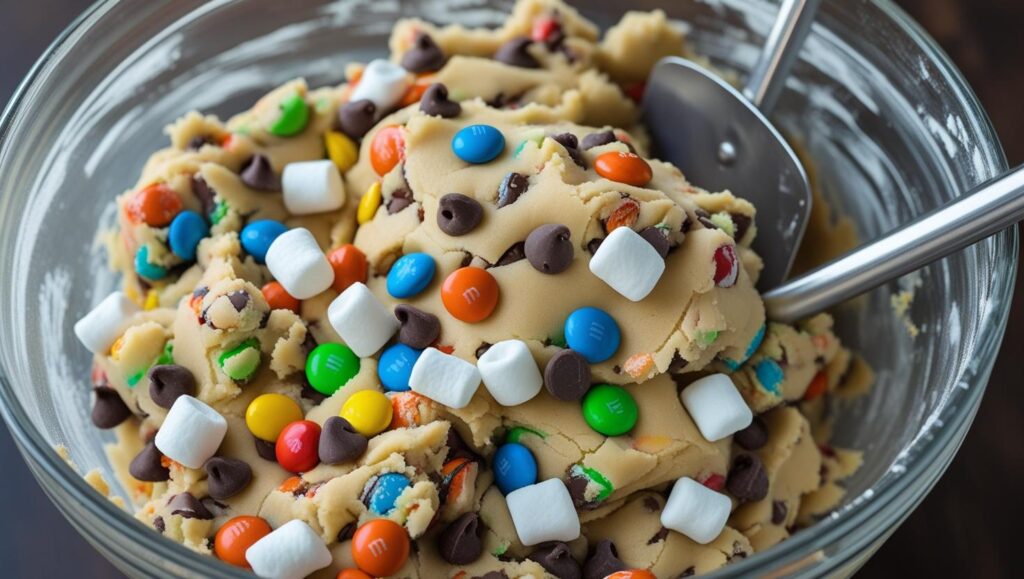
For the “Monster” Mix-Ins:
- 1/2 cup (85g) Semi-Sweet Chocolate Chips
- 1/2 cup (100g) M&M’s Candies
- 1 cup (50g) Mini Marshmallows, divided: This is our star ingredient! We’ll use most in the dough and save a few for the topping.
Step-by-Step Instructions to Cookie Perfection
I’ve broken this down into simple, manageable steps. We’ll build the dough, chill it (it’s worth it!), and then bake them to golden, gooey perfection.
Step 1: Combine Your Dry Ingredients
In a medium bowl, whisk together the all-purpose flour, both types of oats (old-fashioned and quick-cooking), baking soda, and salt. Whisking them together first ensures that the baking soda and salt are evenly distributed, which means every cookie will bake up perfectly. Set this bowl aside for now.
Step 2: Cream the Butter and Sugars
In the bowl of your stand mixer fitted with the paddle attachment, beat the softened butter, brown sugar, and granulated sugar on medium speed for about 2-3 minutes. The mixture should become light, fluffy, and pale in color. This process, called creaming, whips tiny air pockets into the dough, which is essential for a tender cookie.


Step 3: Add the Wet Ingredients
Add the creamy peanut butter and beat until it’s just combined. Scrape down the sides of the bowl with a spatula. Add the room temperature egg and vanilla extract, and beat on medium-low speed until everything is incorporated. Don’t overmix here; just mix until you have a uniform batter.
Step 4: Combine Wet and Dry
Turn the mixer to its lowest speed and gradually add the dry ingredient mixture you set aside earlier. Mix only until a few streaks of flour remain. Over-mixing develops the gluten in the flour, which can lead to tough cookies.
Step 5: Fold in the Mix-Ins
Now for the fun part! Remove the bowl from the mixer. Add the chocolate chips, M&M’s, and about ¾ cup of the mini marshmallows to the dough. Using a sturdy spatula, gently fold everything in until evenly distributed. We save the last ¼ cup of marshmallows for later—this is our secret weapon!
Step 6: Scoop and Chill the Dough
- Using a 2-tablespoon cookie scoop, portion the dough into balls and place them on a parchment-lined baking sheet. You can place them close together for now, as we aren’t baking them yet.
- Now, for a crucial step: cover the baking sheet with plastic wrap and chill the dough balls for at least 30 minutes. Chilling the dough solidifies the fat in the butter and peanut butter. This prevents the cookies from spreading too much in the oven and results in a thicker, chewier cookie. It also allows the flavors to meld together.
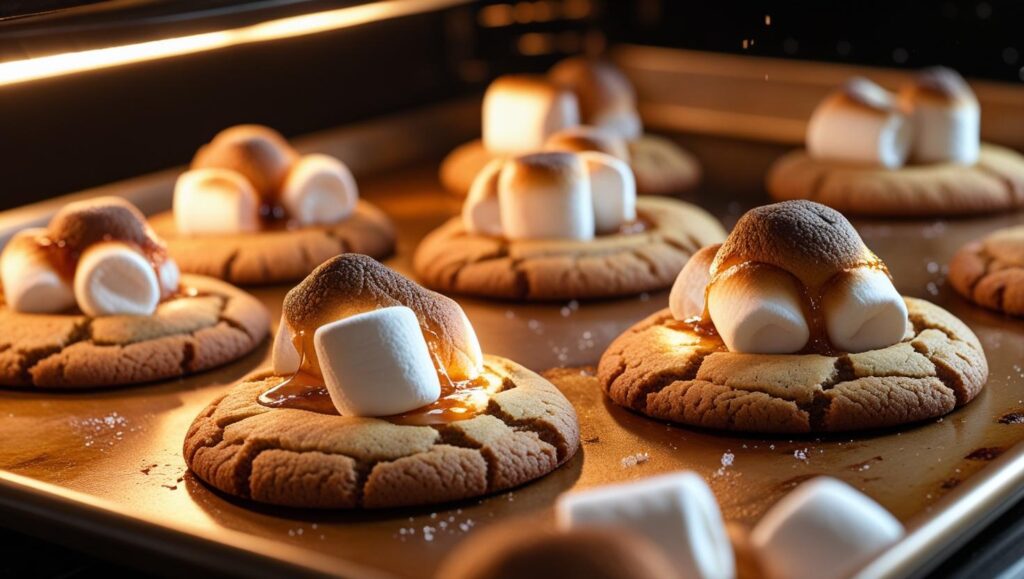
Step 7: Bake to Golden Perfection
- When you’re ready to bake, preheat your oven to 350°F (175°C). Arrange the chilled cookie dough balls about 2-3 inches apart on parchment-lined baking sheets.
- Bake for 10 minutes. The cookies will look slightly puffed and just be starting to turn golden at the edges. Now, quickly open the oven and gently press 3-4 of the reserved mini marshmallows onto the top of each cookie.
- Bake for another 2-3 minutes, just until the marshmallows are puffy and slightly toasted. Keep a close eye on them—marshmallows can go from toasted to burnt in seconds!
Step 8: Cool and Enjoy
Let the cookies cool on the baking sheet for at least 5 minutes. They will be very soft right out of the oven, and this rest period allows them to set up properly. After 5 minutes, transfer them to a wire rack to cool completely. Or, do what I do, and sneak one while it’s still warm and gooey.
A Cookie Worth Mastering
Having a go-to cookie recipe in your back pocket is a superpower, and these Marshmallow Monster Cookies are truly special. They are the perfect treat for bake sales, after-school snacks, or just a cozy night in. They bring together the best of so many beloved flavors and textures into one incredible bite.
I know you’ll love the process of making them and the joy of sharing them even more. Happy baking!


